


rudder-pi
A LTE 4G controlled 3d printed model ship
1. Introduction
Rudder-Pi is a model boat that can be recreated in a home lab environment. It is fully 3D printable. The hull is made from ASA filament and has a length of one meter. The boat is equipped with a Raspberry Pi for control and an Android smartphone (Nokia G60) that provides the internet connection, camera stream and telemetry data. The boat has no traditional rudder. Steering is accomplished by adjusting the speed difference between the two propulsion motors. You can download the STL files of my boat hull from my website: www.schrottplatz.biz/rudder-pi.php. I also provide the original Fusion 360 design file of the boat as an open source reference. Perfectionists may prefer to design their own hull and use only the control software, as my hull contains minor imperfections and the overall design is ultimately a matter of personal taste. To operate the system, you will additionally need a home server (root server) running:
- a WireGuard VPN server
- an Nginx reverse proxy
- and a TURN server (coturn on Linux)
| Date | Drawing | Size (MB) |
|---|---|---|
| 2026-03-06 | 35.87 |
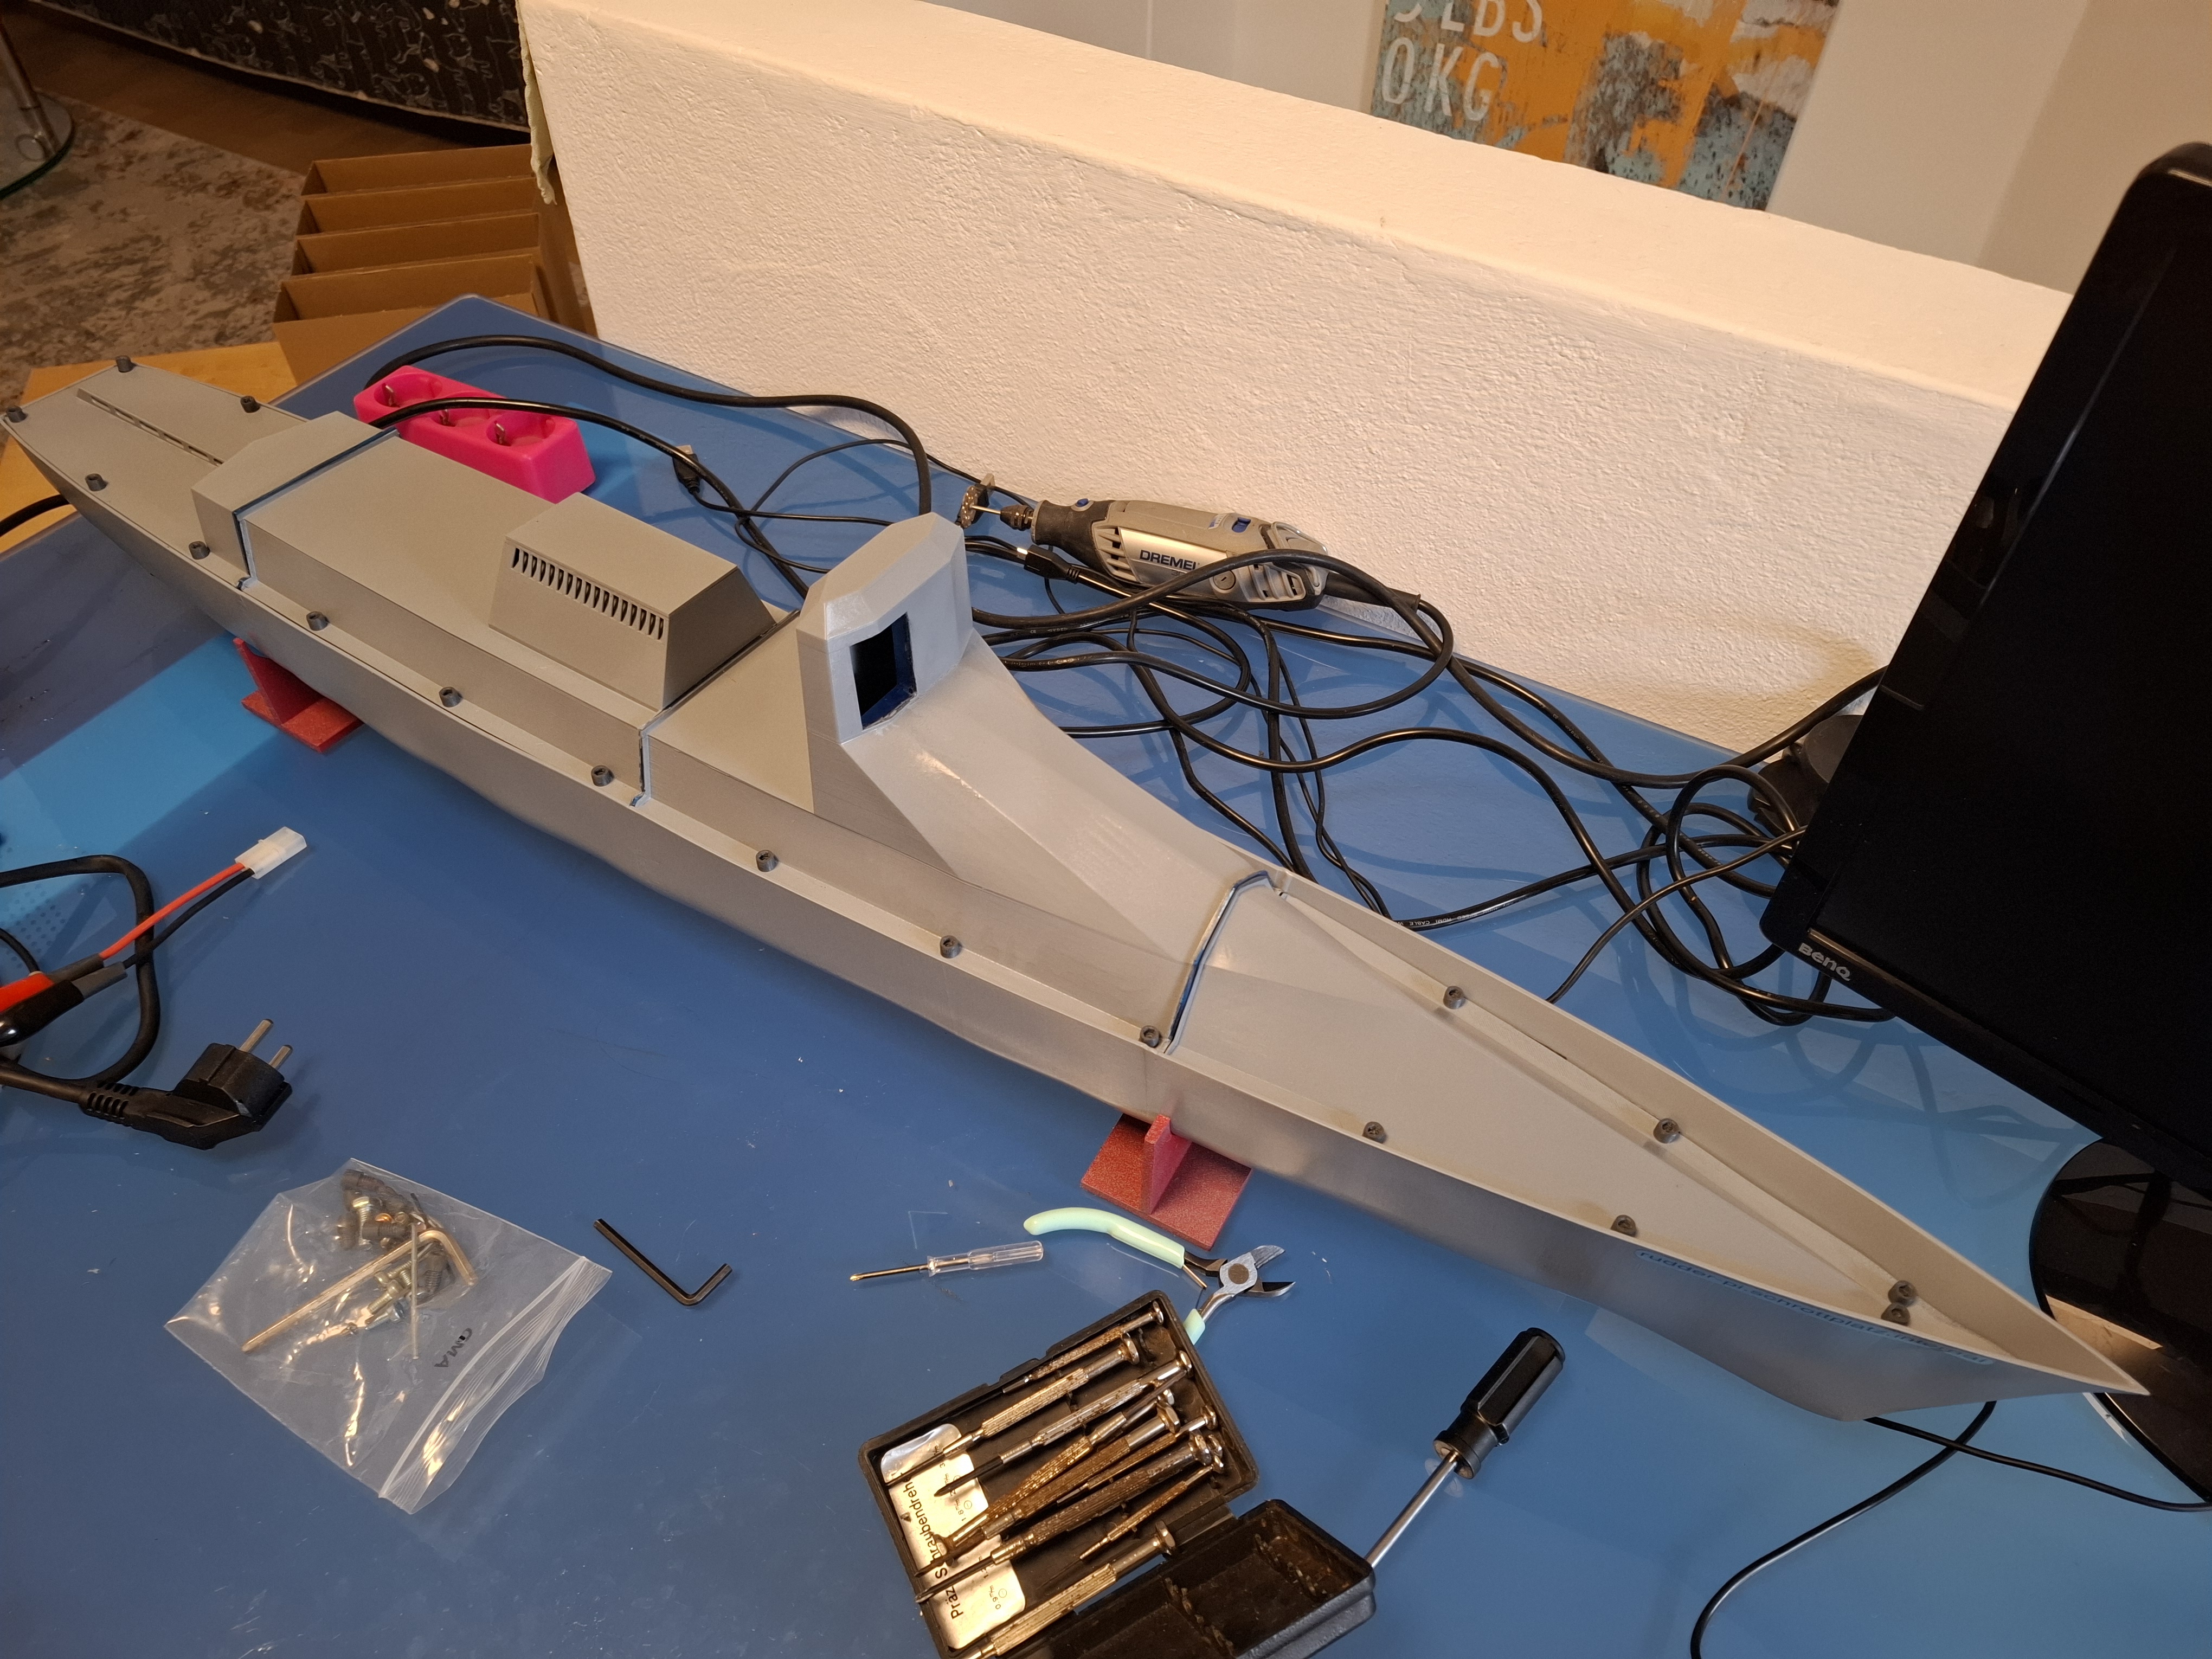
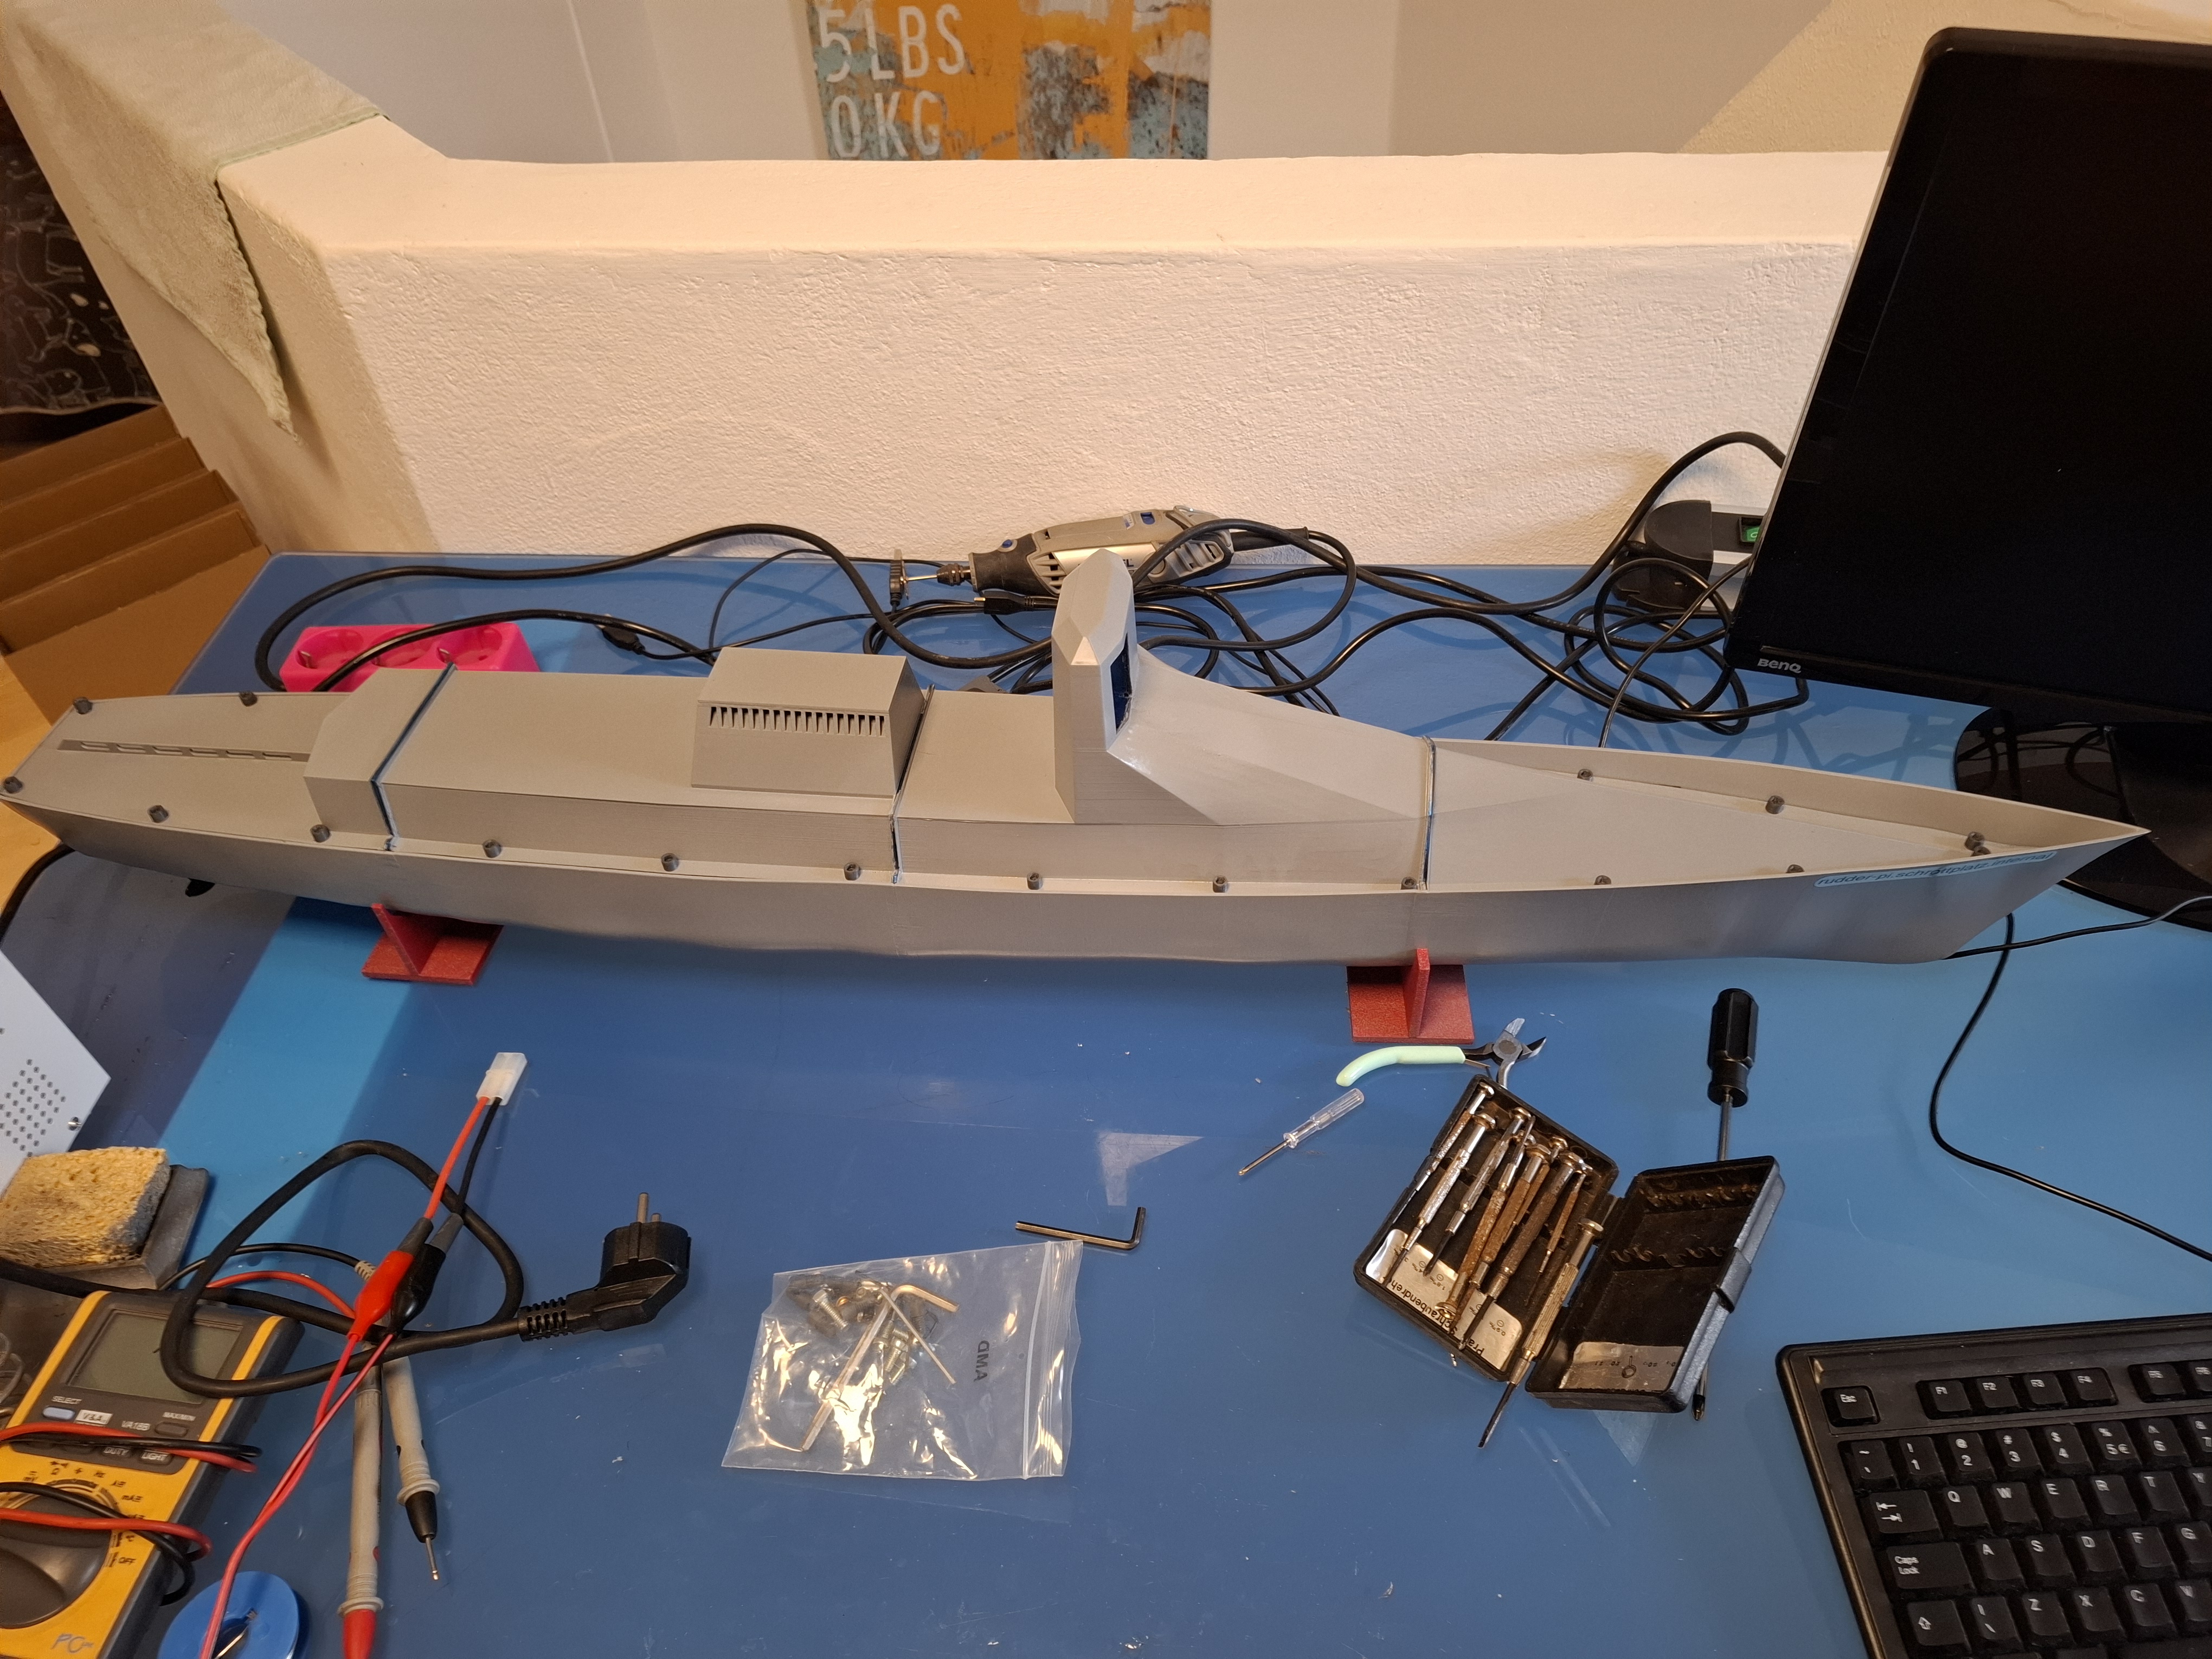
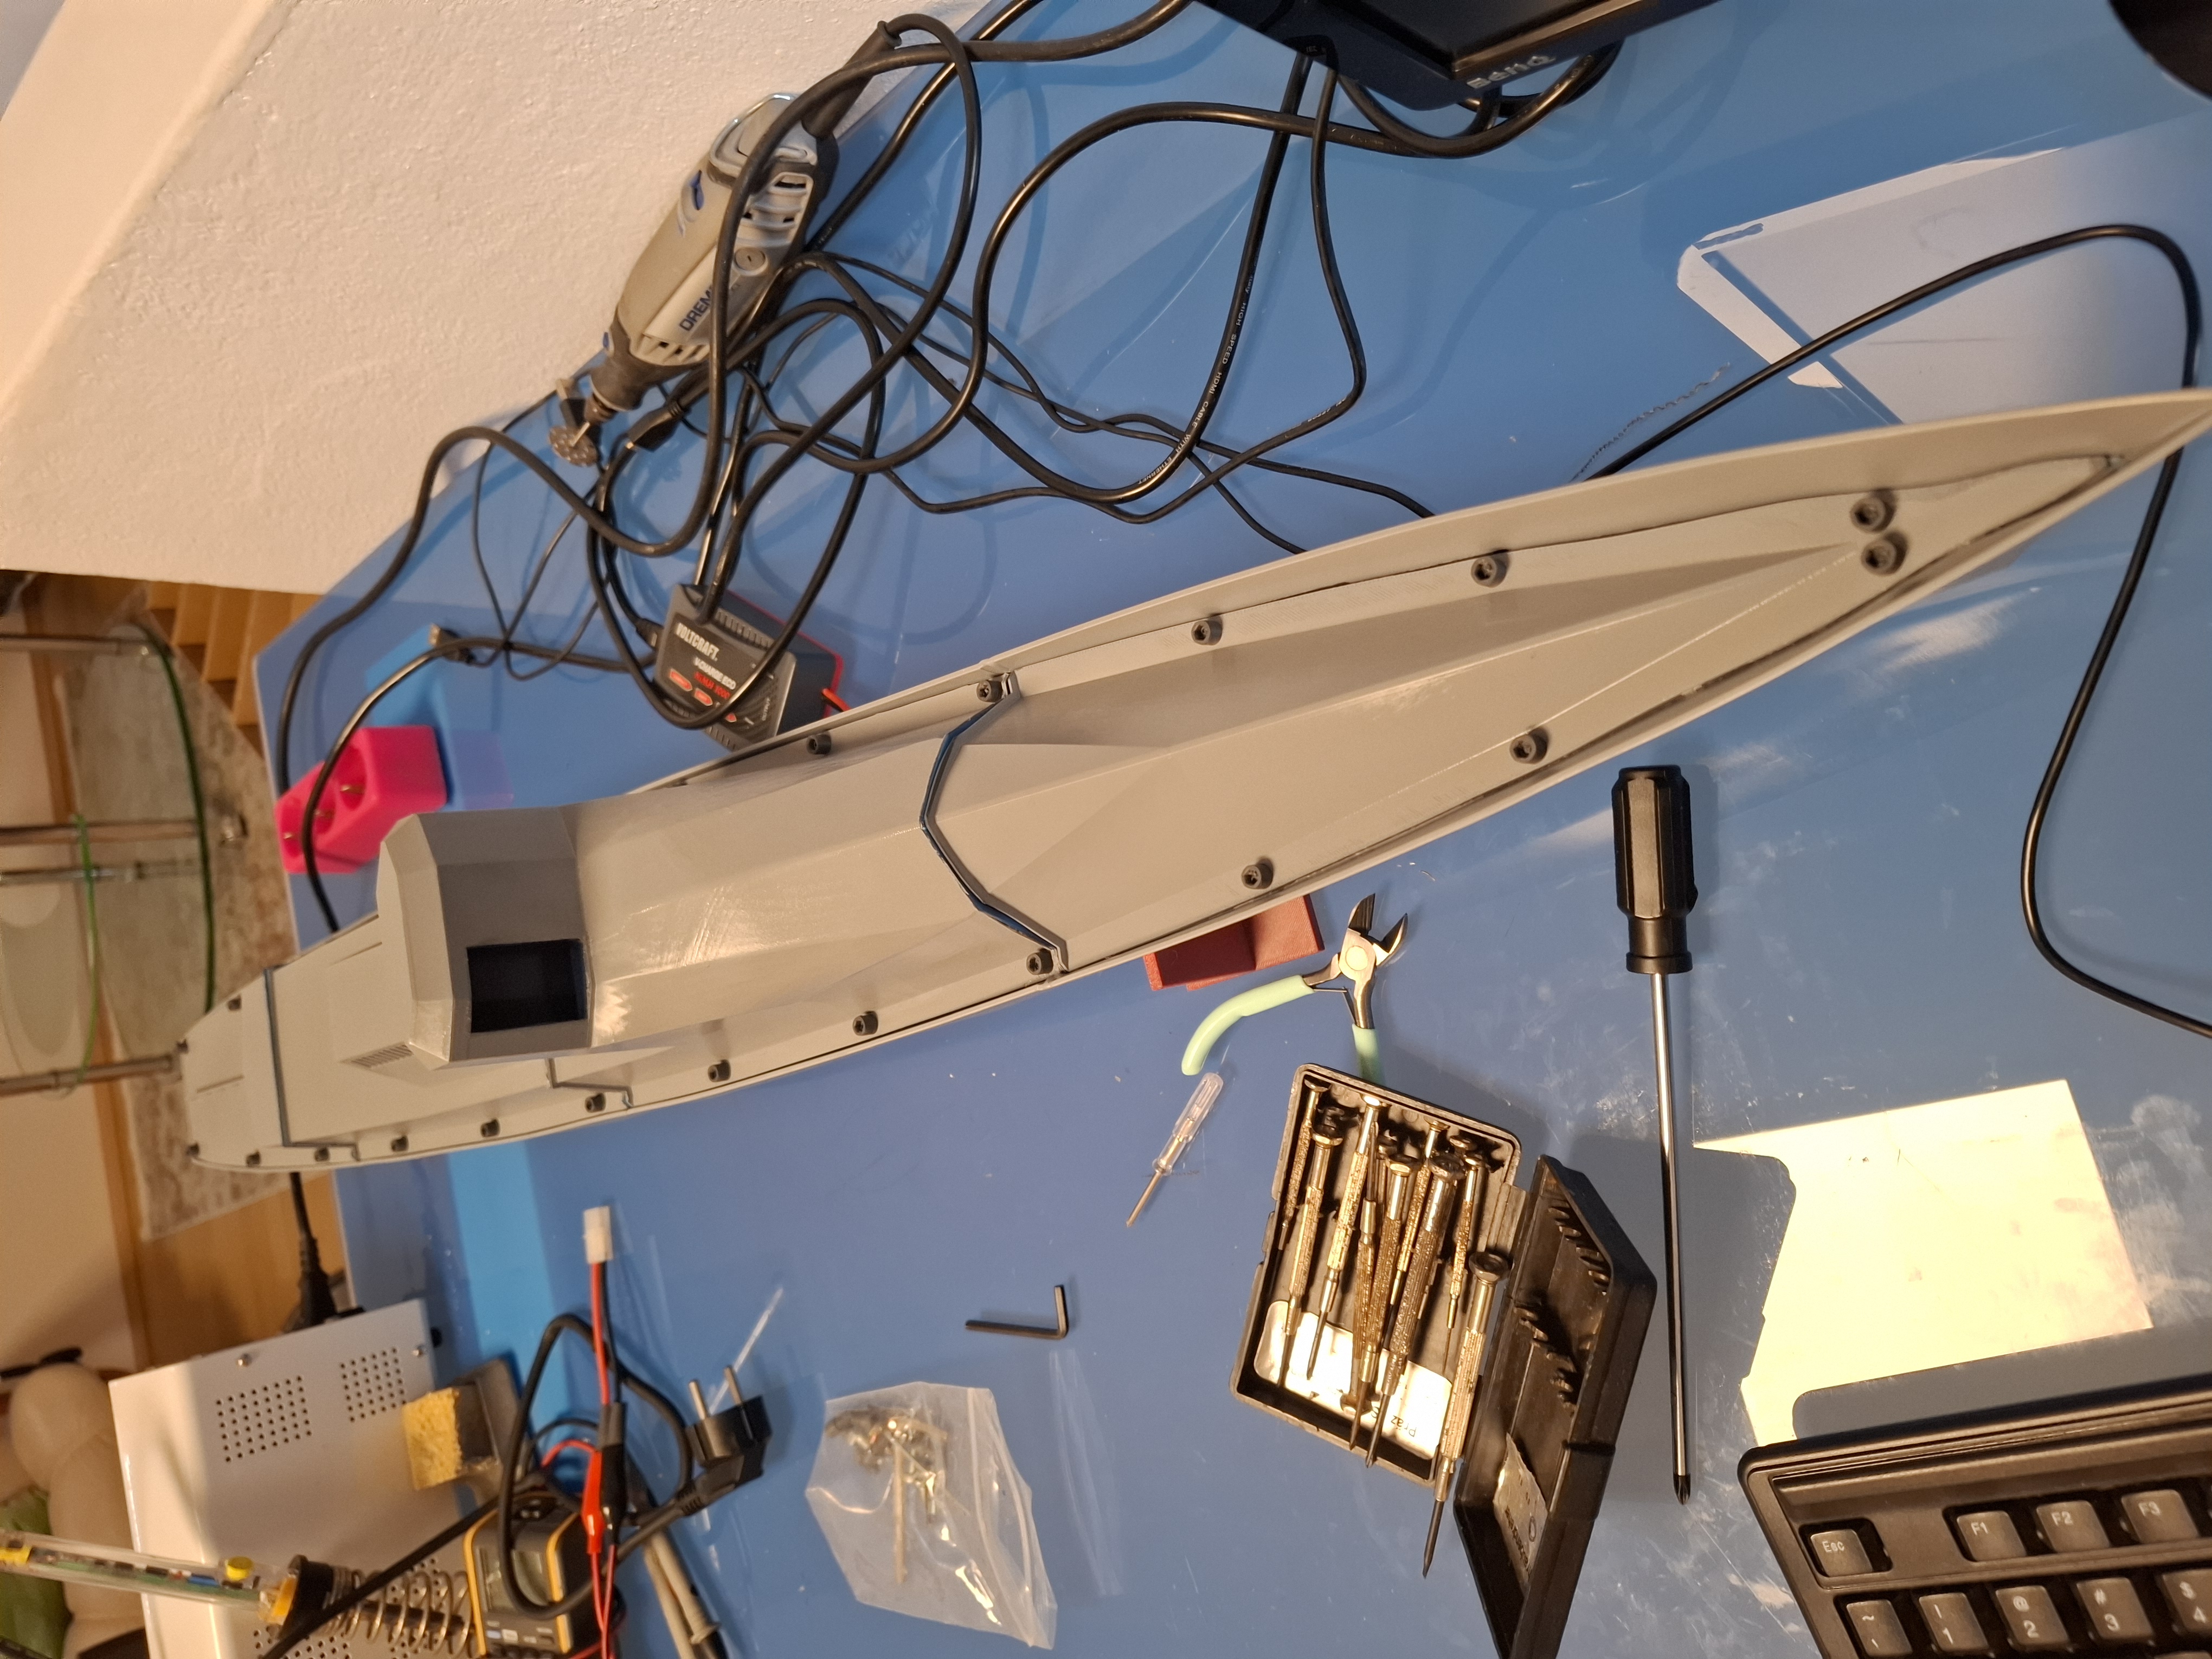
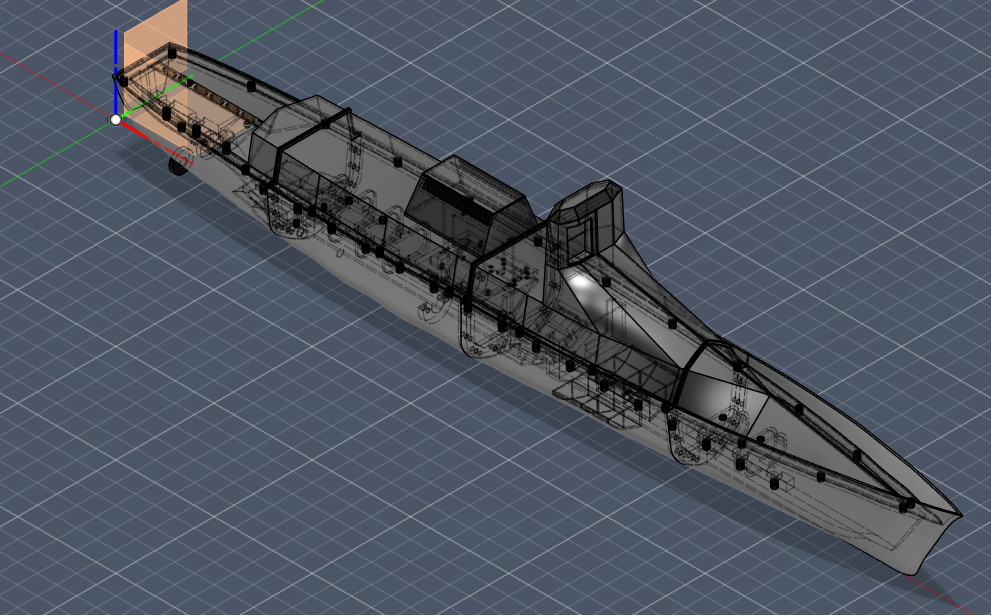
2. Impressions


3. System Architecture
The vessel consists of a 3D-printed ASA hull and is powered by two brushed DC motors. The motors are supplied by two 7.4 V / 5000 mAh battery packs. Both batteries are connected in parallel through diodes to prevent reverse current flow and to provide redundancy. See the Wiring Section for detailed schematics and connection information.
A step-down (buck) converter provides a regulated 5 V supply to the onboard Raspberry Pi 4, powered directly from the battery system.
The two motor speed controllers (ESCs) are connected to the Raspberry Pi via hardware PWM:
- PWM0 (GPIO18, physical pin 12)
- PWM1 (GPIO19, physical pin 35 – verify board mapping depending on configuration)
The PWM signals are generated by the rudder-pi Python service (app.py), which also hosts the GRADIO-based control web interface.
3.1 Onboard Smartphone Integration
An Android smartphone (Nokia G60 5G in this build) is physically connected to the Raspberry Pi via LAN using a USB-C Ethernet adapter.
The Android device runs the rudderpi Android application, which provides two background services:
3.1.1 TelemetryService
The TelemetryService provides telemetry data such as sensor values and system state via the endpoint:
/state.json (Port 8080)
This JSON endpoint is intended for future development (e.g., autopilot functionality). At present, the telemetry data is displayed within the Raspberry Pi's GRADIO control interface.
3.1.2 VideoService
The VideoService acts as an RTSP client and streams camera data to a MediaMTX server running on the Raspberry Pi.
The MediaMTX server exposes the video feed at:
/rudderpiraw
This stream is converted to a WebRTC endpoint for low-latency browser playback.
3.2 Network Architecture
The Raspberry Pi establishes a WireGuard VPN connection to the home server (WireGuard server) inside the home LAN.
Within the home LAN, an Nginx reverse proxy provides the control interface at:
https://rudder-pi.<your-home-lan-domain>.internal
This virtual host forwards traffic to the GRADIO web interface running on the Raspberry Pi (port 7860).
The operator device (the smartphone or computer used to control the vessel) must also establish a WireGuard connection to the same home LAN in order to access the control interface.
A functional DNS server within the home LAN is required for proper name resolution.
3.3 Video Streaming Architecture
For video transmission, a separate Nginx reverse proxy endpoint is provided:
https://rudder-pi-webrtc.<your-home-lan-domain>.internal
This endpoint forwards WebRTC traffic to the MediaMTX server and relies on a TURN server (coturn) running within the home LAN to enable reliable NAT traversal and media relay.
The WebRTC video stream is embedded directly into the GRADIO control interface, allowing the operator device to access both control functions and live video within a single web interface.
3.4 System Overview Summary
- Dual-motor differential thrust steering (no rudder)
- Redundant parallel battery configuration with diode isolation
- Onboard Raspberry Pi 4 for motor control and network handling
- Android smartphone providing camera and telemetry services
- MediaMTX for RTSP-to-WebRTC video conversion
- WireGuard VPN for secure remote access
- Nginx reverse proxy for unified web-based control
- Optional TURN server for reliable WebRTC streaming

4. Hardware
4.1. STL Parts
STL Parts is the list of my 3D-printed STL components, precisely designed to match the purchased parts listed in the Parts section. The system is designed to use a Nokia G60 5G as the mobile phone. If you choose to use components that differ from those in my purchase list — for example a different smartphone — you can modify my Fusion 360 design accordingly and create your own custom mounts. The hull features a grid of M6 mounting holes, allowing for flexible installation of additional components or alternative hardware. Please remember to adapt the lid elements accordingly if you make changes to the configuration. My Fusion 360 design does not meet professional engineering standards, as I am not a Fusion expert. However, in the simplest case, you can reorder all parts exactly as listed in my purchase list and reproduce the build without modifications. For most parts, my specifications refer to 2 wall loops and gyroid infill with an infill density of 15%. Other settings are specified in the description.
| Name | Image | STL File | Material | Mass (g) | Description |
|---|---|---|---|---|---|
| Hull 01 |  | Download STL File | ASA | ~110 g | Hull 01 represents the stern section of the vessel and should preferably be printed in ASA. PETG and ABS are also suitable alternatives for all hull elements. For best results, the part should be printed in an upright orientation. This component accommodates the stern tubes; corresponding mounting holes are already integrated into the design. The position of the stern tubes can be adjusted in the Fusion 360 model if required. |
| Hull 02 |  | Download STL File | ASA | ~150 g | Hull 02 is a central hull section and should preferably be printed in ASA. PETG or ABS are also suitable alternatives for all hull elements. The part should be printed in an upright orientation for optimal structural strength and surface quality. This element connects to the adjacent hull sections using epoxy adhesive and M4 bolts. Hull 02 also accommodates the stern tube assembly and includes pre-defined boreholes for locking screws. The position of these features can be adjusted in the Fusion 360 model if required. |
| Hull 03 | 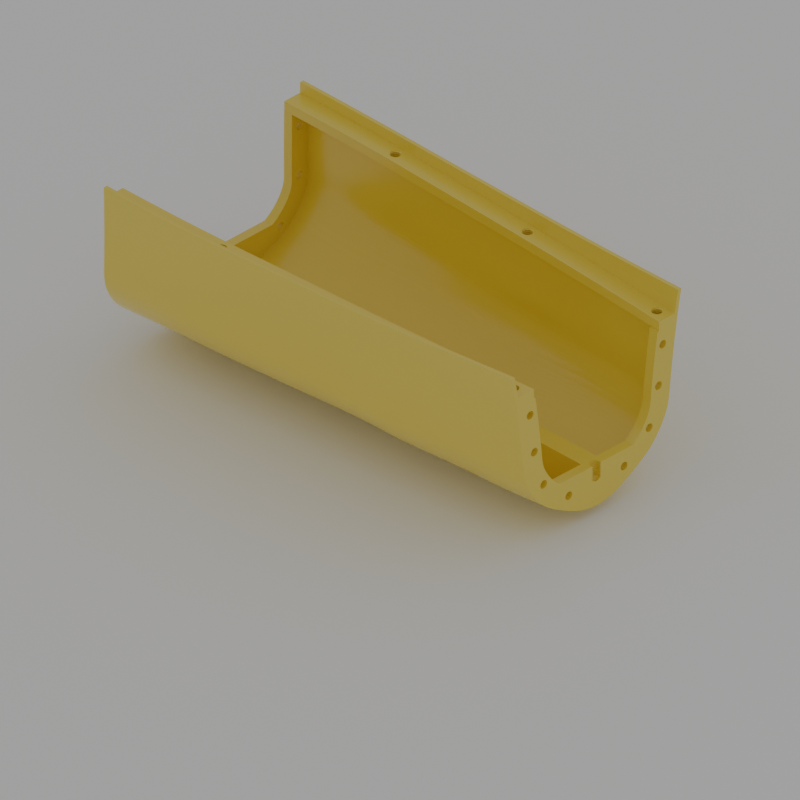 | Download STL File | ASA | ~150 g | Hull 03 is a central hull section and should preferably be printed in ASA. PETG or ABS are also suitable alternatives for all hull elements. Printing in an upright orientation is recommended. This element is joined to the neighboring hull sections using epoxy adhesive and M4 bolts to ensure mechanical stability and watertight bonding. |
| Hull 04 |  | Download STL File | ASA | ~140 g | Hull 04 represents the bow section of the vessel and should preferably be printed in ASA. PETG or ABS are also suitable alternatives. Printing in an upright orientation is recommended. This element is bonded and mechanically secured to the adjacent hull sections using epoxy adhesive and M4 bolts. |
| Lid 01 | 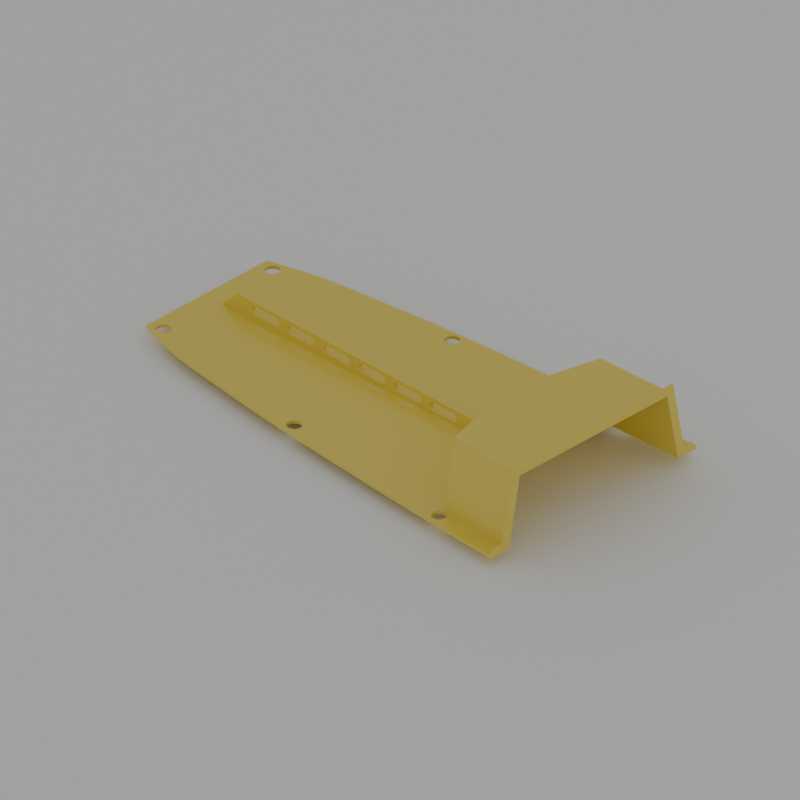 | Download STL File | ASA | ~40 g | The lid for Hull 01. It has a thickness of 1.5 mm. Best printed standing. |
| Lid 02 | 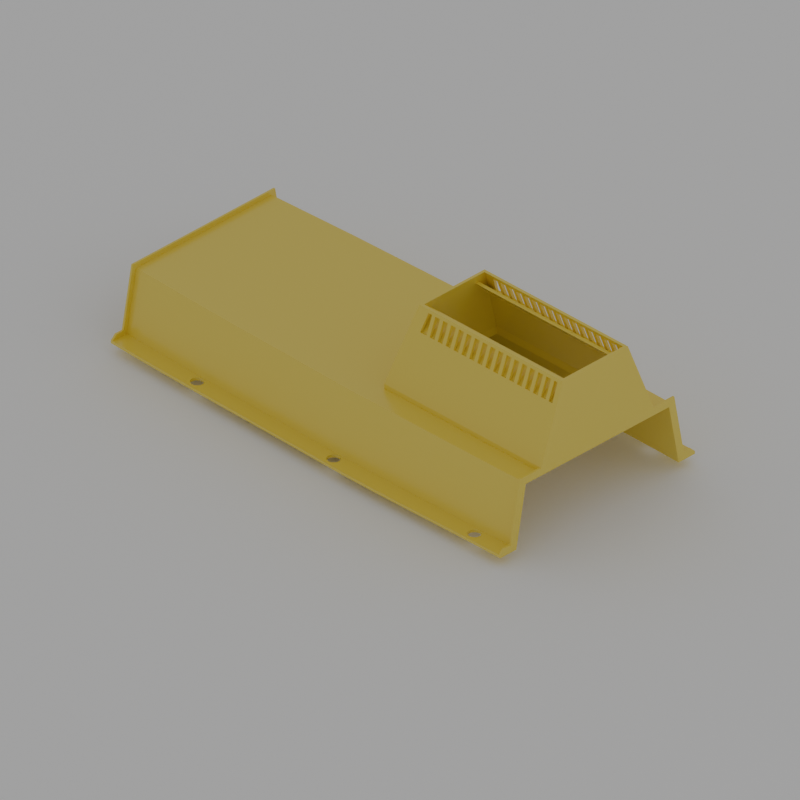 | Download STL File | ASA | ~80 g | |
| Lid 02 Cover | 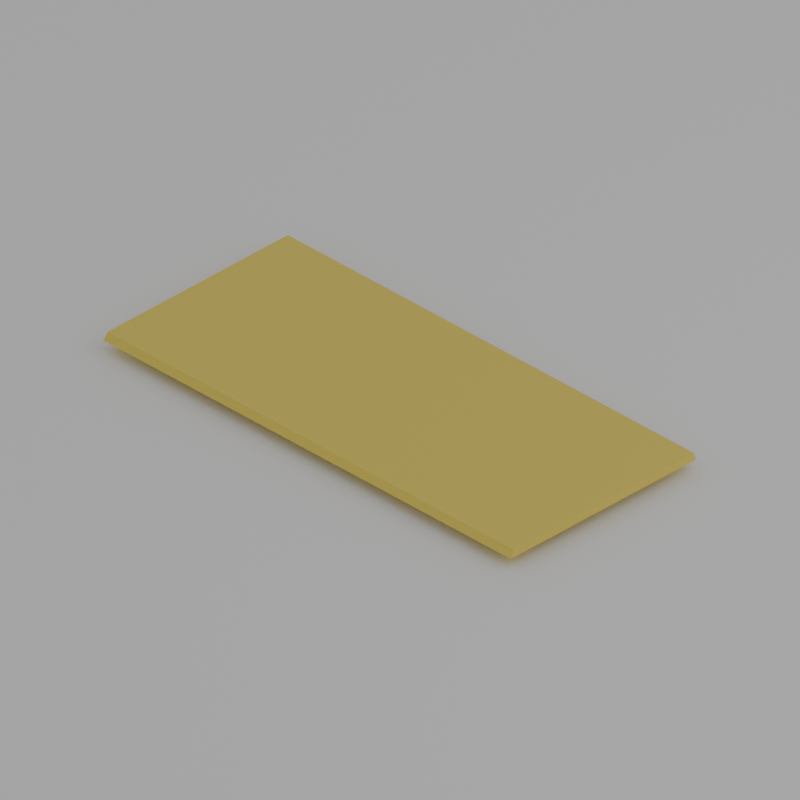 | Download STL File | ASA | ~5 g | |
| Lid 03 | 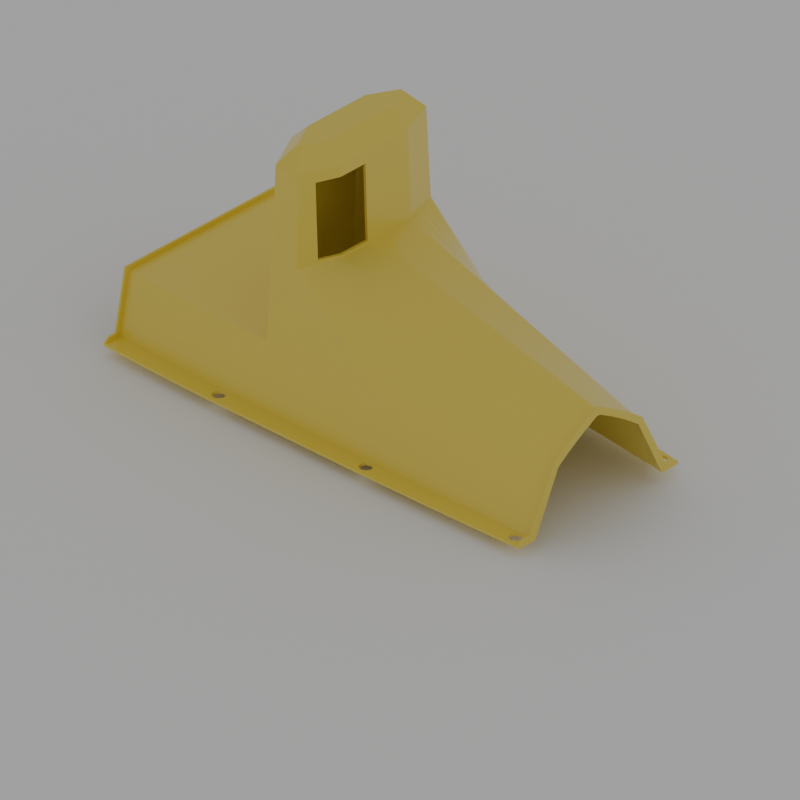 | Download STL File | ASA | ~90 g | |
| Lid 04 | 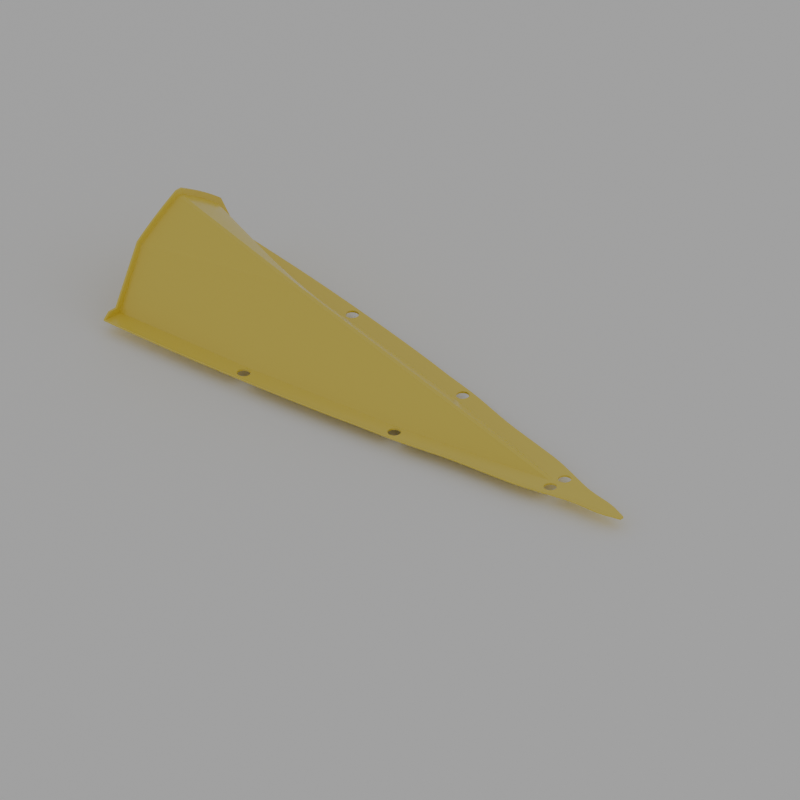 | Download STL File | ASA | ~20 g | |
| Dock A | 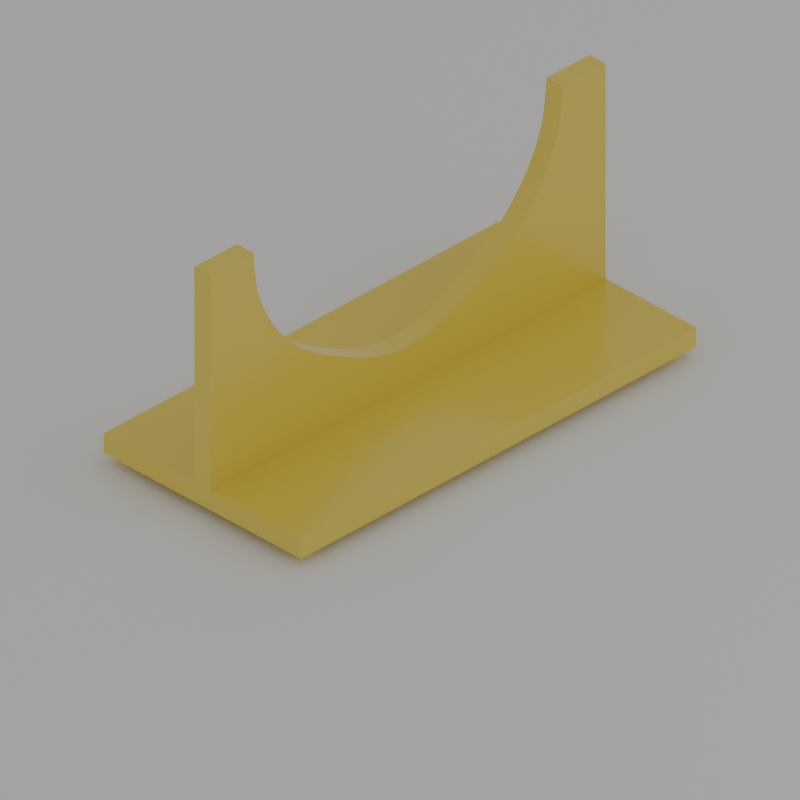 | Download STL File | ASA/PLA | ||
| Dock B | 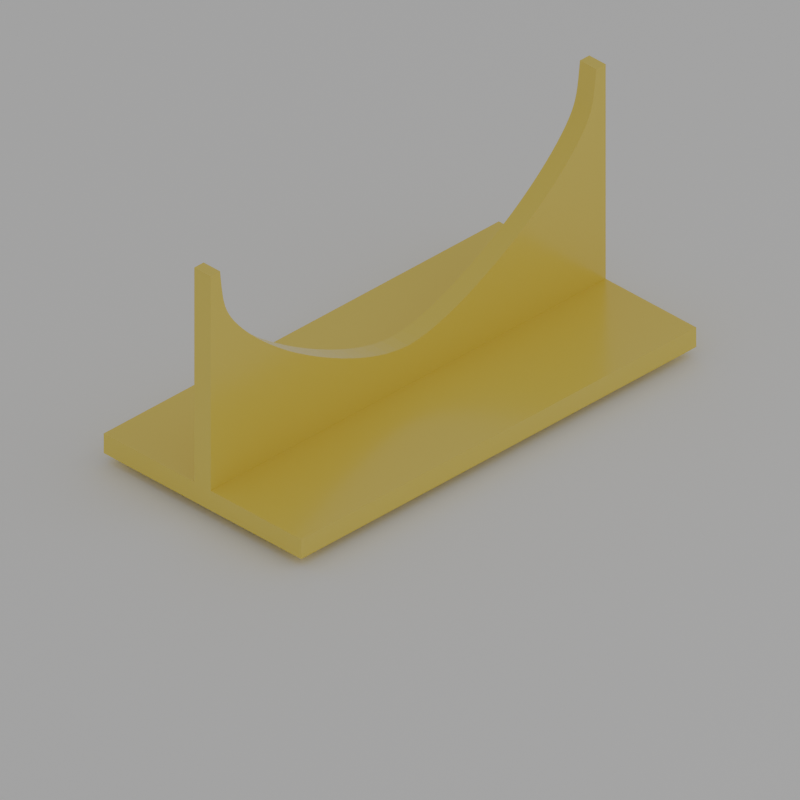 | Download STL File | ASA/PLA | ||
| Battery Holder | 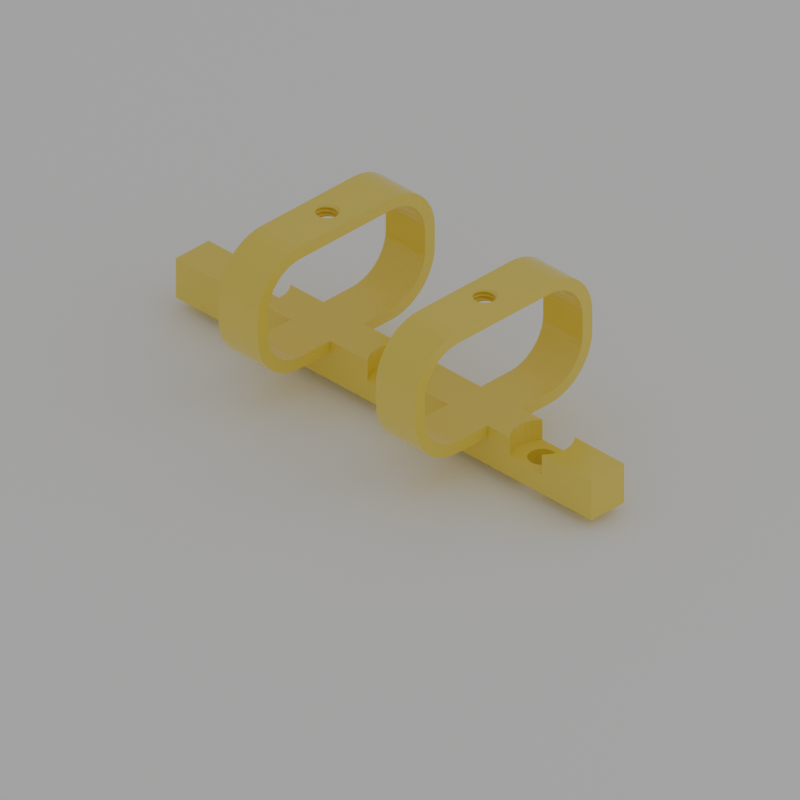 | Download STL File | ASA | ~11 g | The battery holder should be printed twice — one unit for the front battery and one for the rear battery. In the Fusion 360 model, the updated battery holder is shown in the front section. The rear section still contains the older holder design; however, the updated front battery holder fits both the front and rear positions using the M6 mounting grid. Important: Do not clamp lithium-ion batteries using the provided clamping screws. The mechanical clamping method is intended exclusively for the NiMH batteries used in this build. Lithium-based battery types require alternative mounting solutions to prevent damage and safety risks. |
| Motor Mount |  | Download STL File | ASA | ~6 g | |
| Motor Mount TPU Strip | 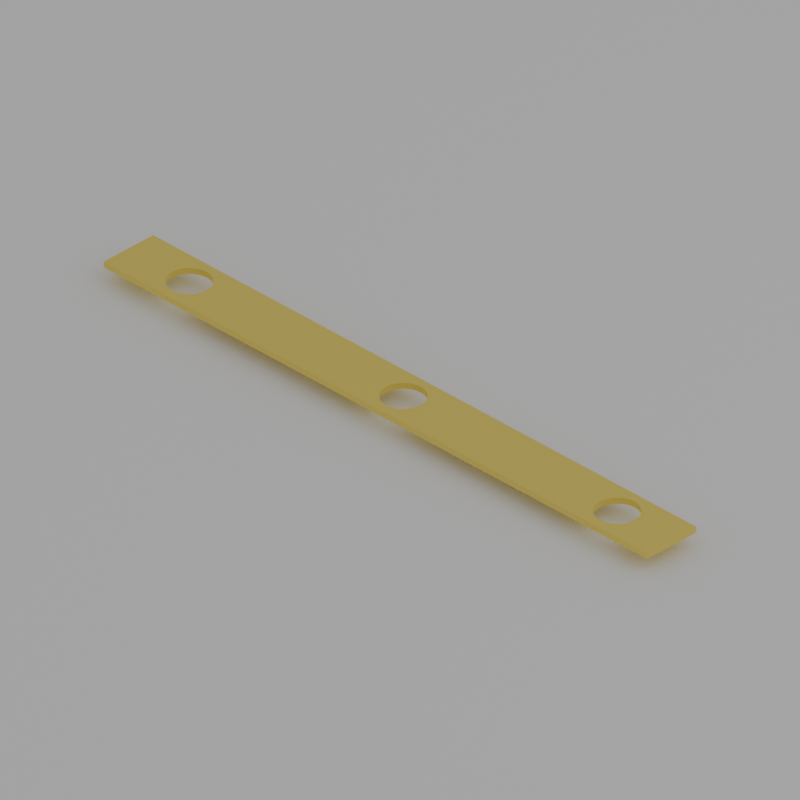 | Download STL File | TPU95 | ||
| Raspberry Pi Mount | 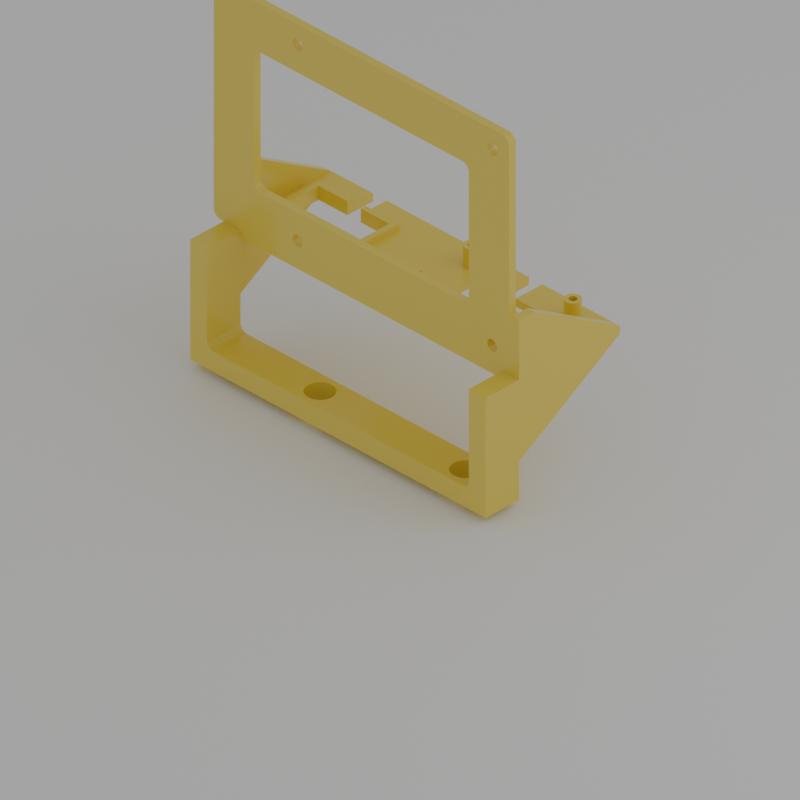 | Download STL File | ASA | ~15 g | |
| ESC Mount | 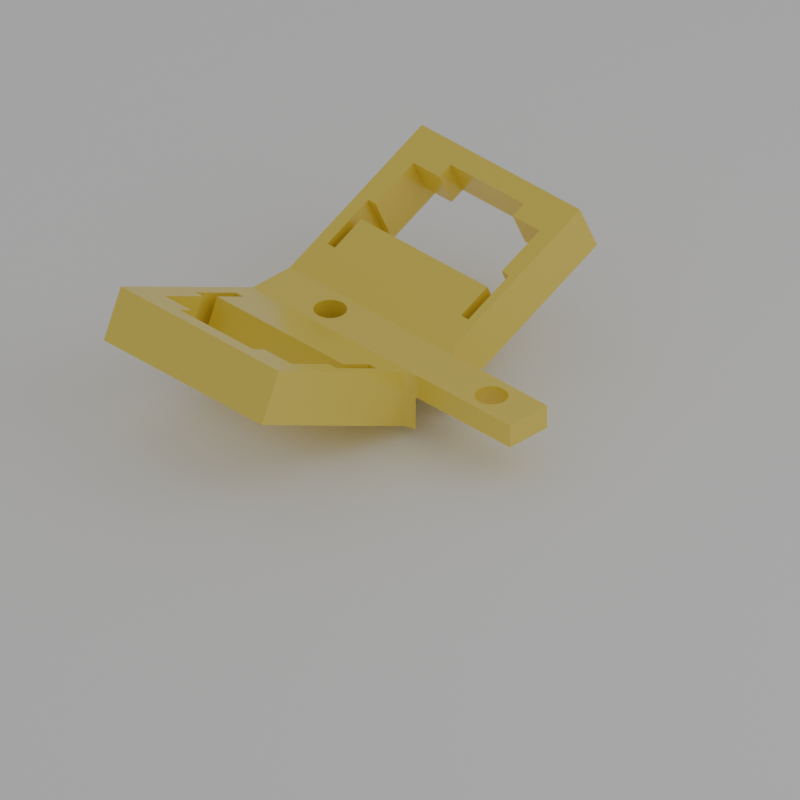 | Download STL File | ASA | ~12 g | |
| Diode Holder | 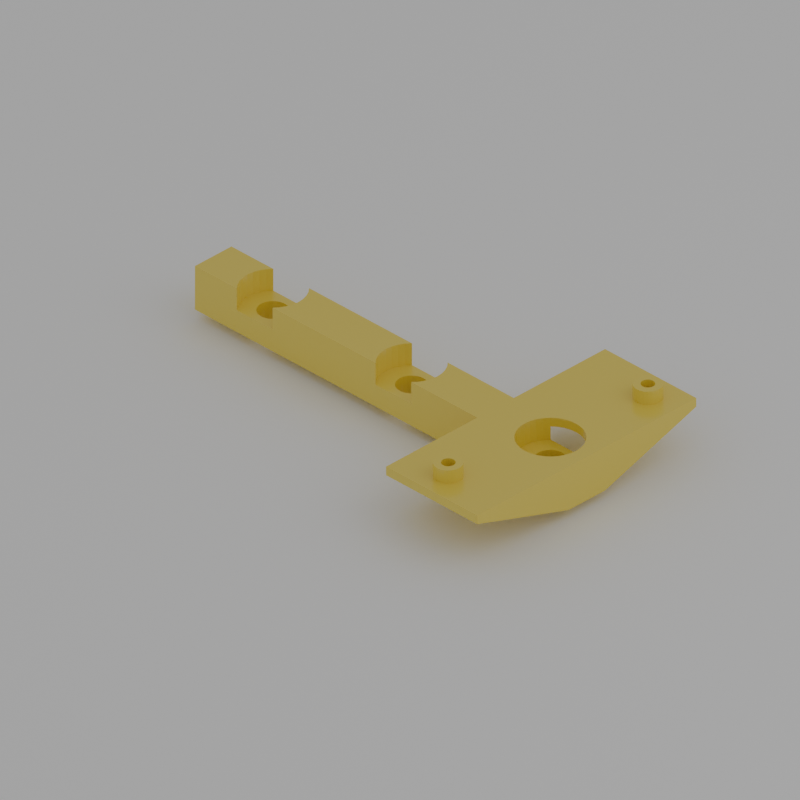 | Download STL File | ASA | ~7 g | |
| Phone Mount and Ballast | 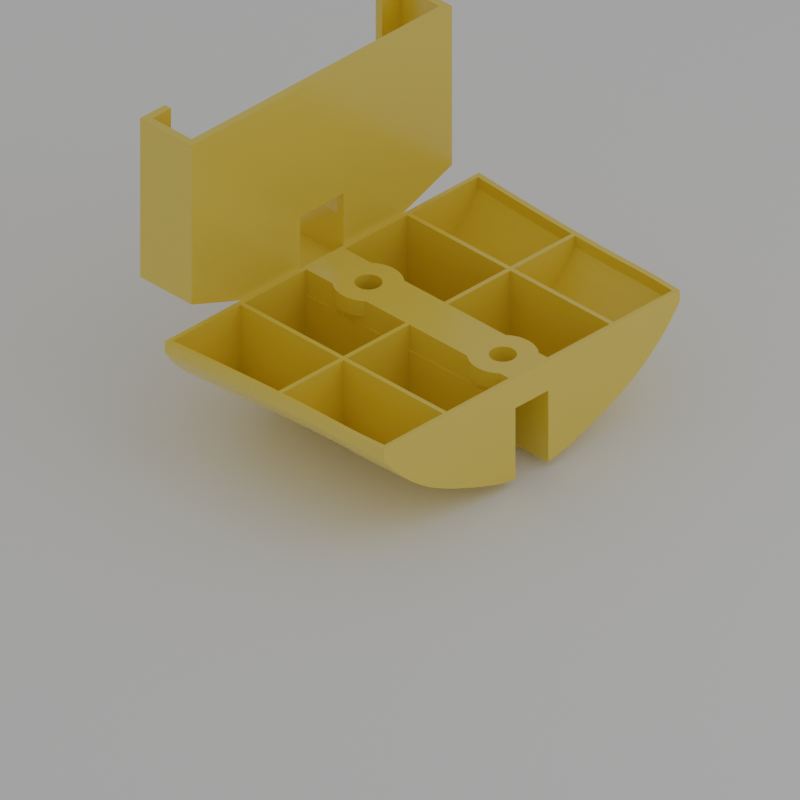 | Download STL File | ASA | ~40 g | |
| Phone Mount TPU | 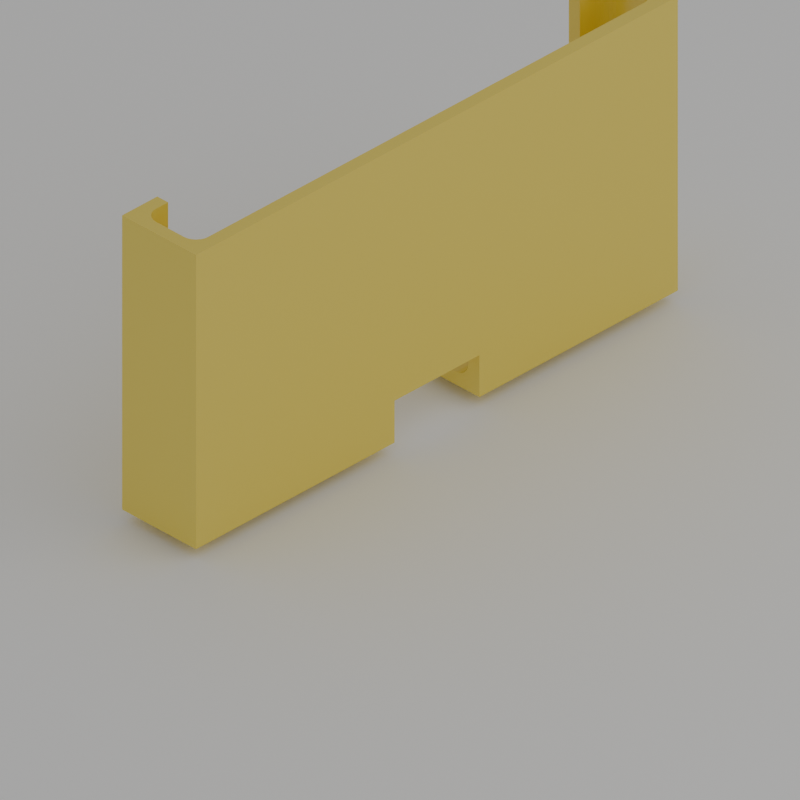 | Download STL File | TPU95 | ||
| Phone Mount TPU Top |  | Download STL File | TPU95 | ||
| Phone Mount TPU Viewport |  | Download STL File | TPU95 | ||
| Bolt | 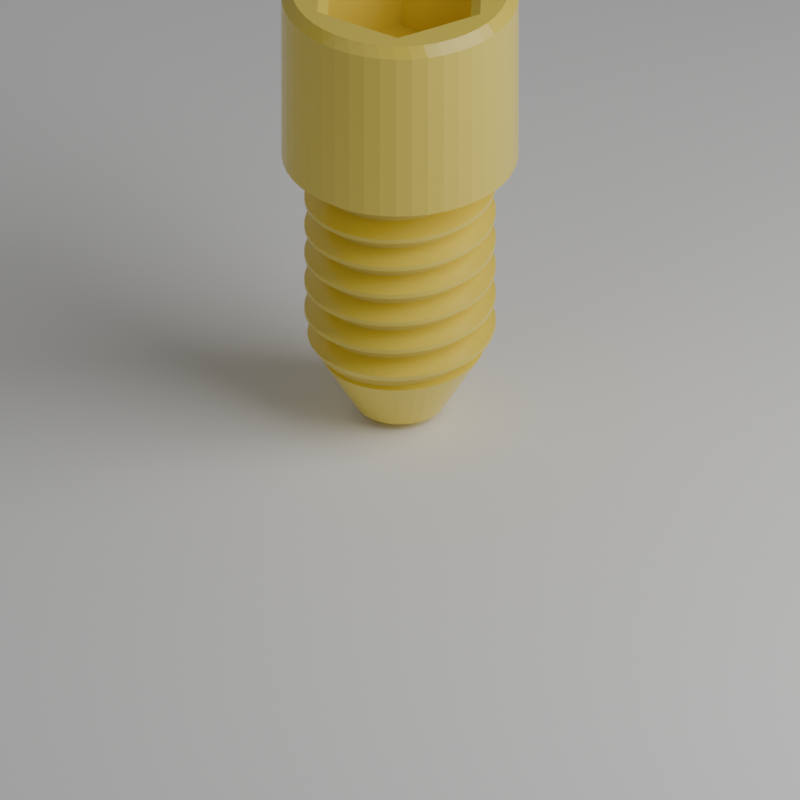 | Download STL File | ASA | ~1 g | |
| TPU Part A |  | Download STL File | TPU95 | ||
| TPU Part B |  | Download STL File | TPU95 | ||
| TPU Part C |  | Download STL File | TPU95 | ||
| TPU Ring 01 | 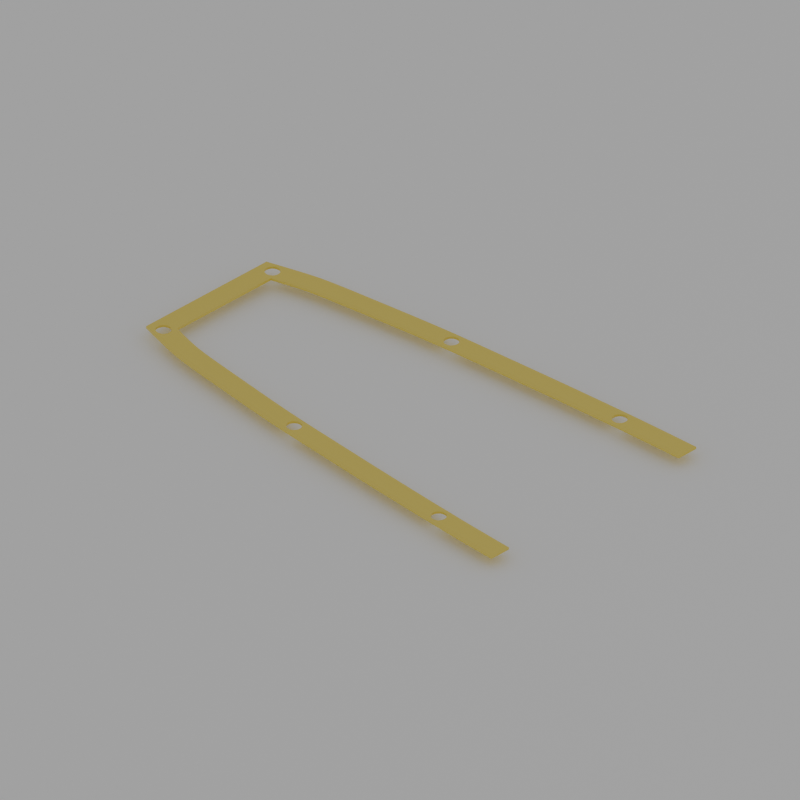 | Download STL File | TPU95 | ||
| TPU Ring 02 Left |  | Download STL File | TPU95 | ||
| TPU Ring 02 Right |  | Download STL File | TPU95 | ||
| TPU Ring 03 Left |  | Download STL File | TPU95 | ||
| TPU Ring 03 Right | 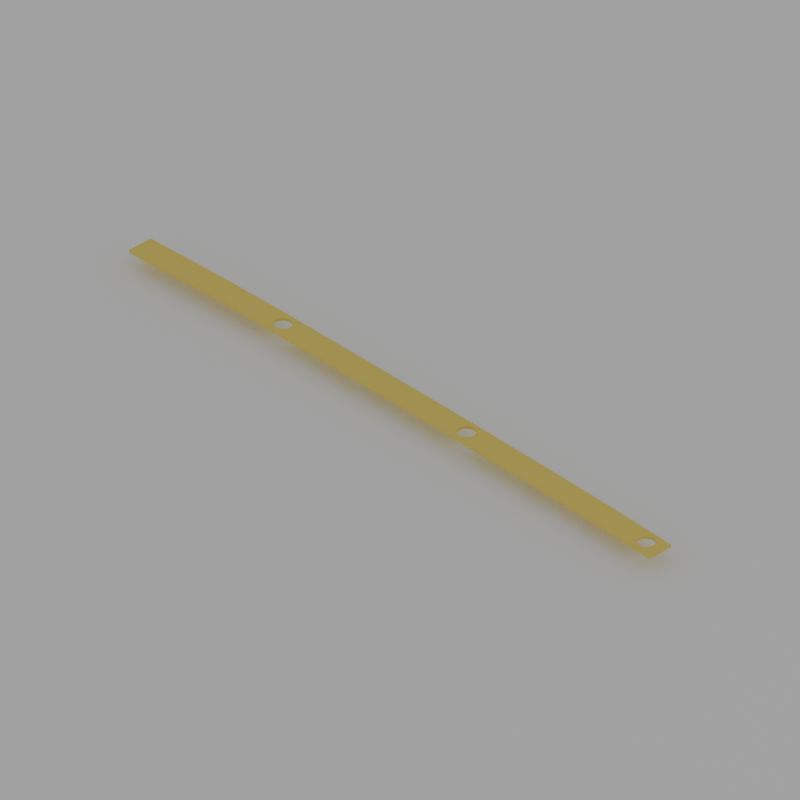 | Download STL File | TPU95 | ||
| TPU Ring 04 |  | Download STL File | TPU95 | ||
| TPU T USB-C |  | Download STL File | TPU95 |
4.2. Purchase List
This is my purchase list. Some of the listed components are no longer available and may need to be replaced with alternative models. If modifications to the Fusion 360 design are required, I am happy to assist upon request — please contact me at christianarrer@gmail.com. The items in this list are not ordered by importance; all components are equally relevant. Please review the entire list carefully, determine which parts may need substitution, and adapt the design accordingly.
| Quantity | Class | Name | Image | Purchase Link | Description |
|---|---|---|---|---|---|
| 2 | Brushed DC Motor | Keenso 540 Brush Motor, High Torsion, 75T RC Motor for Cars and Boats, Iron and Copper Construction with 3.17 mm Shaft, Strong Magnetic, Low Noise | 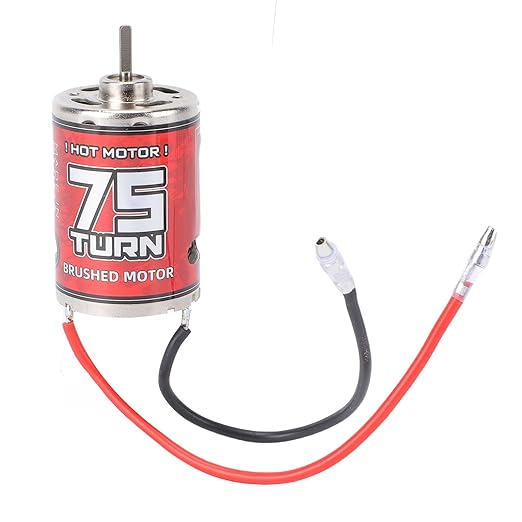 | Amazon | |
| 2 | NiMH Rechargeable Battery | DXF RC NiMH Battery 7.2 V 5000 mAh RC Car RC Truck HPI Losi Kyosho Hobby for RC Cars Aeroplane Helicopter Boat (2 Packs) | | Amazon | |
| 1 | Universal joint | QUARKZMAN Set of 4 3 mm to 3 mm ID Steering Shafts Universal PTO Shaft Coupling L23XD9 Metal 45° Rotating Joint Coupling with Screws Wrench Set |  | Amazon | |
| 1 | Stern Tube | sourcing map 1 Pair Boat Model Accessories 3 mm Diameter 200 mm Long Drive Shaft 3 Blade Propeller | 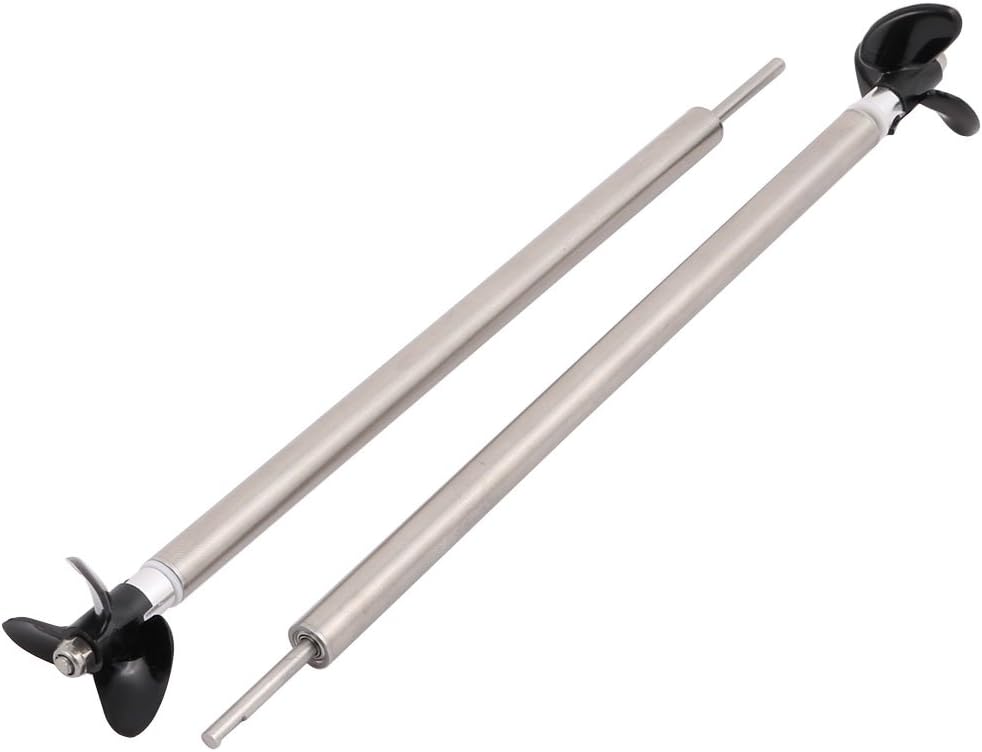 | Amazon | |
| 1 | Steel Rod | sourcing map Round Steel Rod 3 mm HSS Lathe Bar Material Tool 100 mm Long for Shaft Gear Drill Turning Miniature Axis Cylinder Pin Pack of 10 | 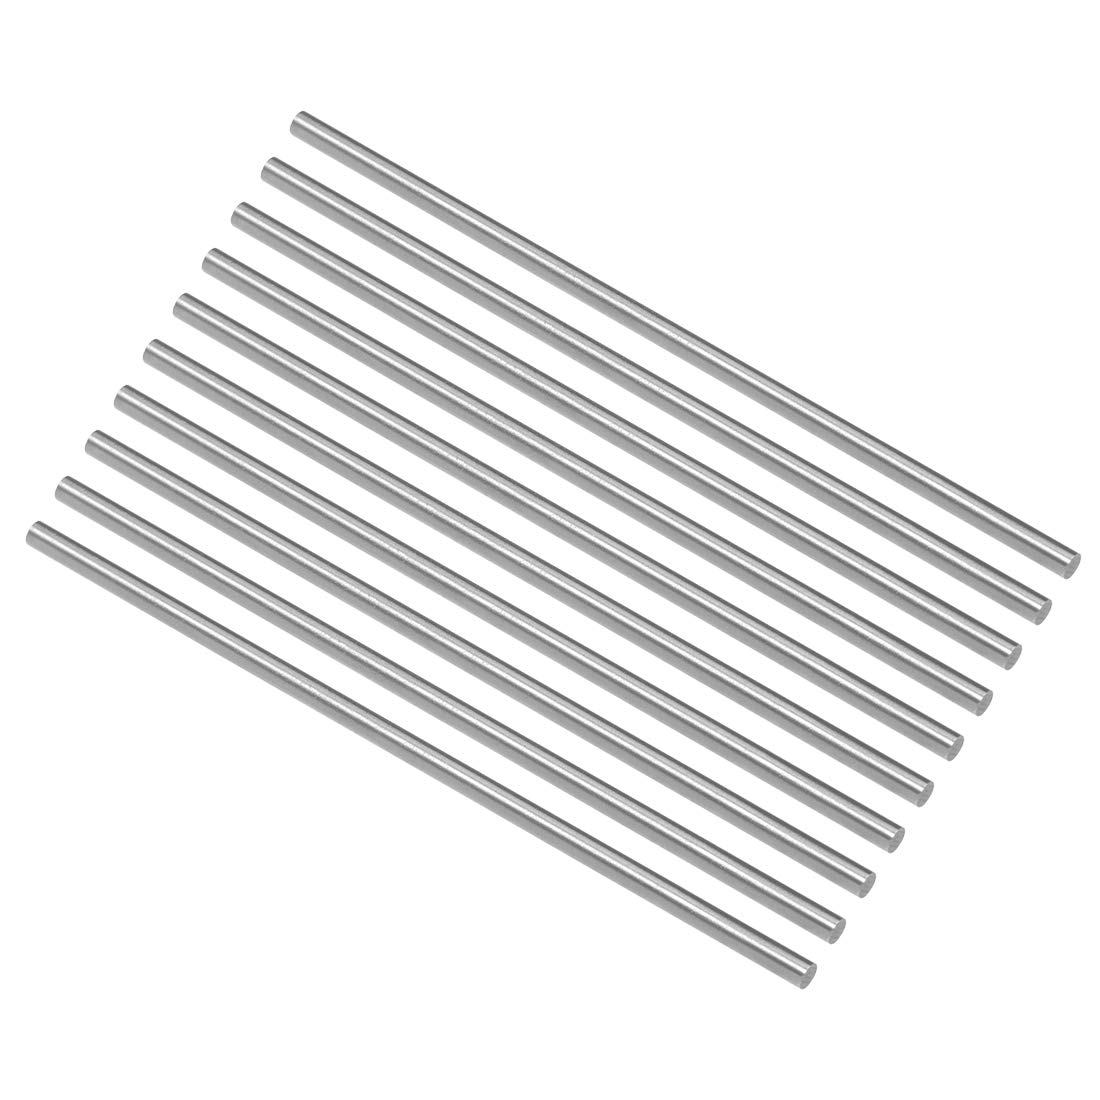 | Amazon | |
| 1 | Raspberry Pi | Raspberry Pi 4 Model B (4GB) | 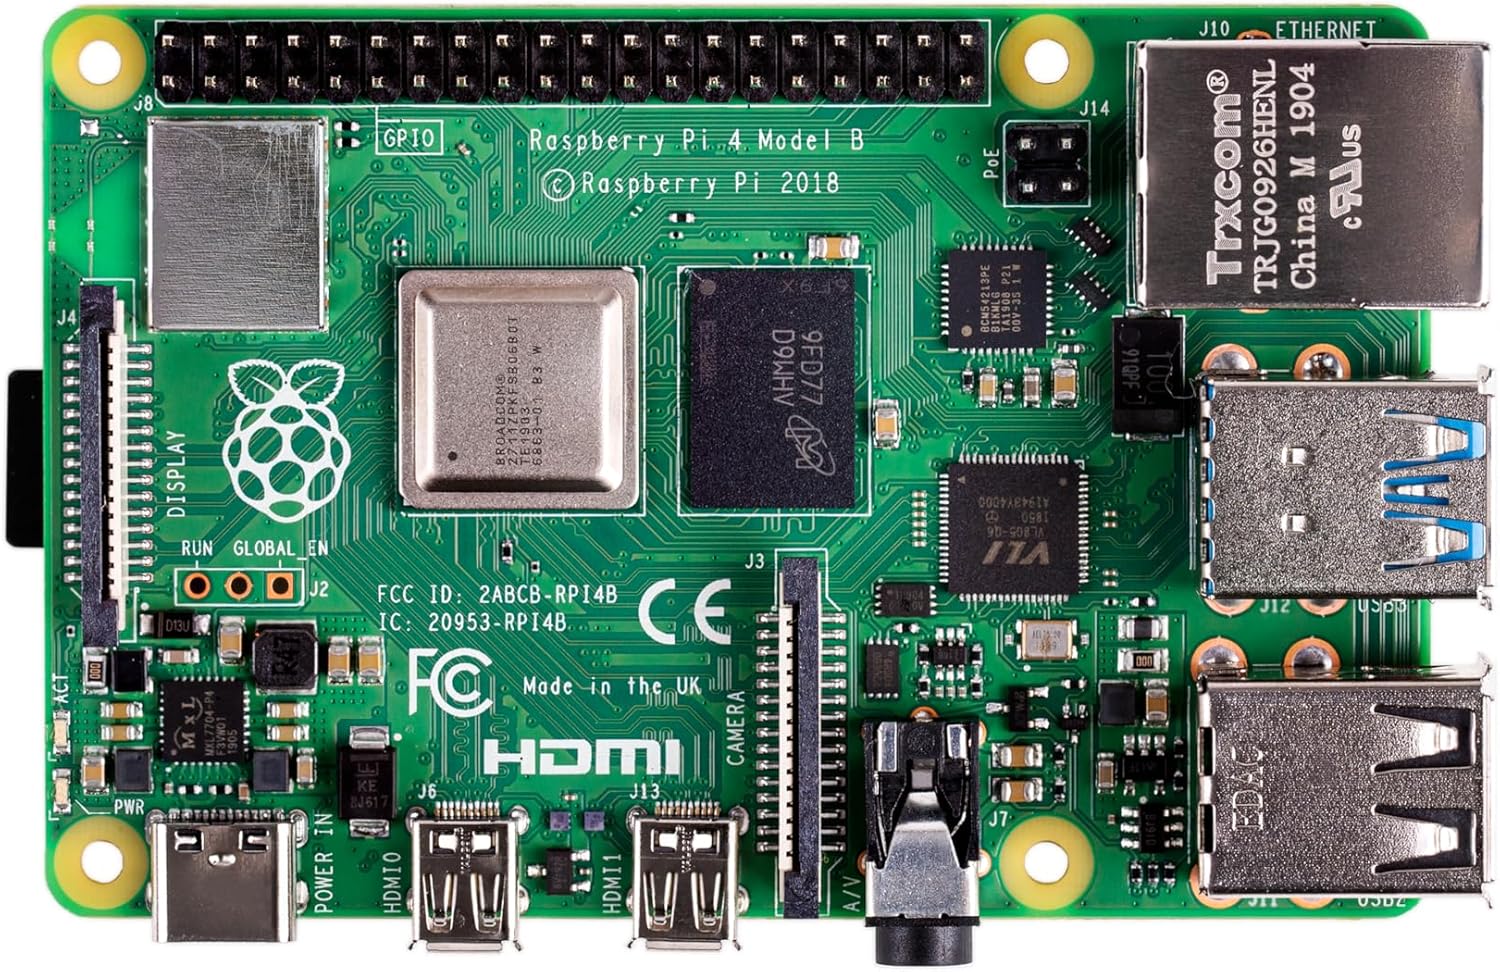 | Amazon | |
| 1 (2) | SD Card | Samsung PRO Endurance MB-MJ128KA/EU MicroSD Card + SD Adapter 128GB for Video Surveillance Systems, Dash Cams and Bodycams,UHS-I U3, Full HD & 4K UHD, 100MB/s Read, 40MB/s Write |  | Amazon | |
| 1 | Diode Pack | (Pack of 10) Chanzon MBR2045CT Schottky Barrier Rectifier Diodes 20A 45V TO-220AB (TO-220) 20 Amp 45V |  | Amazon | |
| 1 | Raspberry Pi Fan | GeeekPi Ultra Thin ICE Tower Cooler for Raspberry Pi 5, Aluminium Active Cooler with 40 x 40 x 7 mm PWM Fan for Raspberry Pi 5 4GB/8GB | 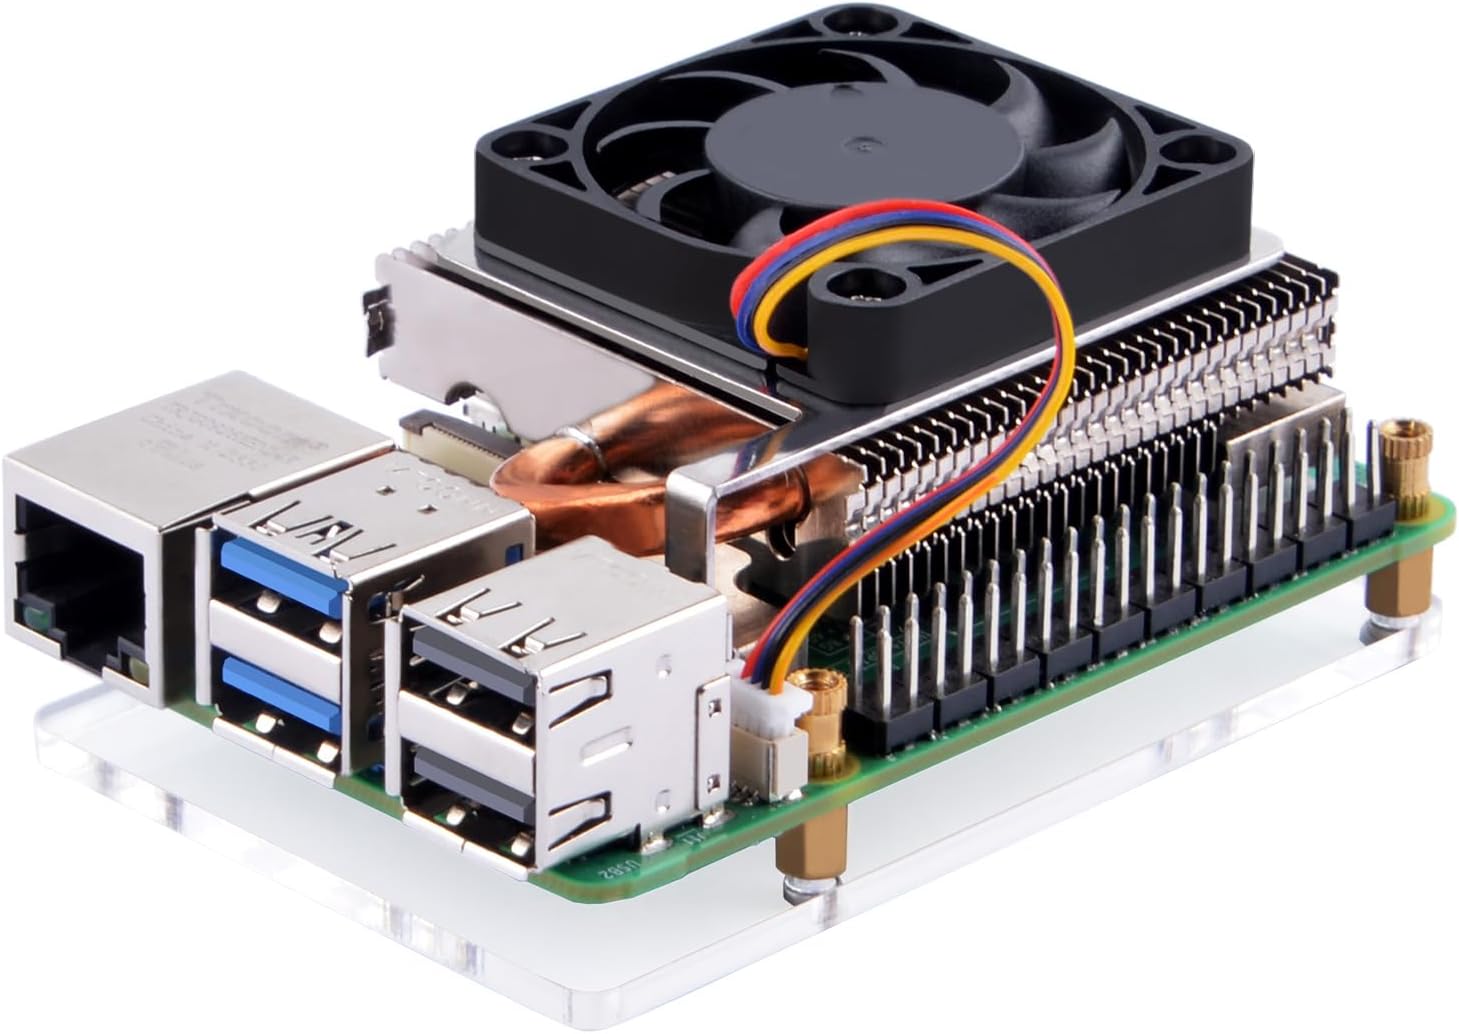 | Amazon | The Raspberry Pi 4 Model B is actively cooled using a Raspberry Pi 5 aluminum tower cooler. Although not originally designed for the Pi 4, it fits and operates reliably, providing stable thermal performance under continuous load. |
| 1 | Nokia G60 5G | Nokia G60 5G |  |
ebay.com refurbed.at backmarket.at | The Nokia G60 5G is a 5G-capable smartphone with a 6.58" HD+ display, long battery life, and modern features. It’s been offered in international markets, though availability varies by region, and not all models are listed on the manufacturer site anymore. |
| 1 | Model Plugs | WMYCONGCONG 180 Pieces 30 Kits Male and Female with Pins Compatible with Big Tamiya Plug Type A | 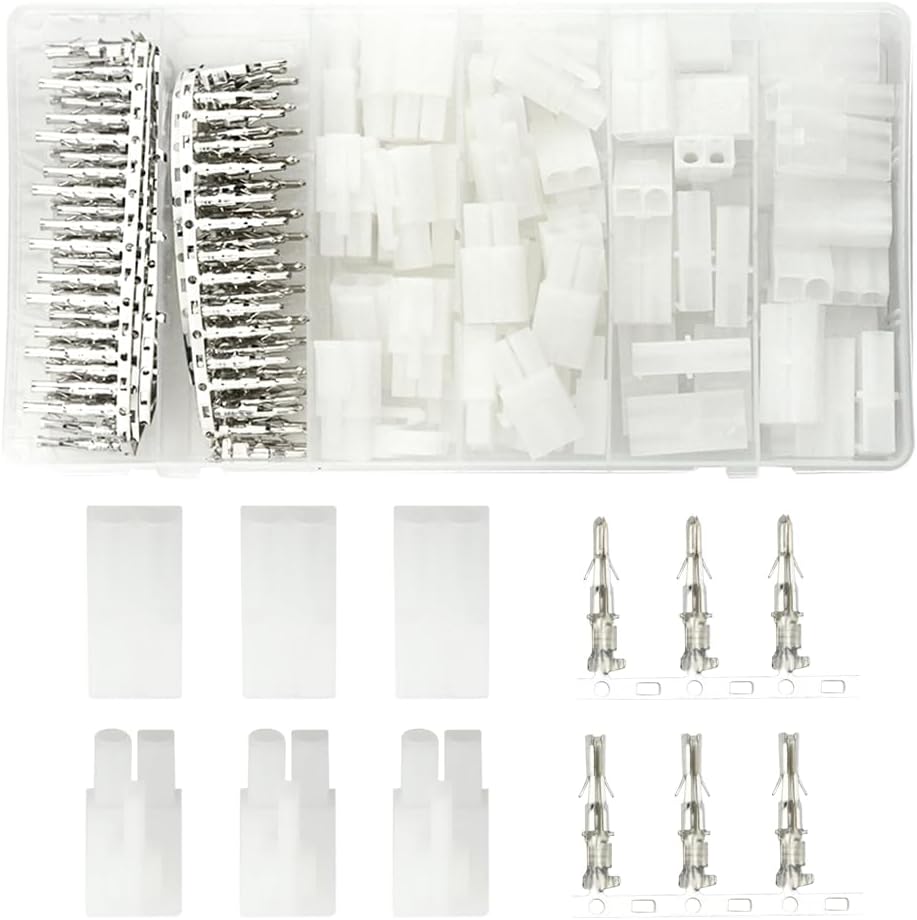 | Amazon | |
| 1 | USB-C T-adapter | RUIZHI 2-in-1 USB C 90° Adapter - Type C to Type C, USB 4.0 40Gbps, Data Transfer & Charging Function for Laptop, Tablet & Phone | 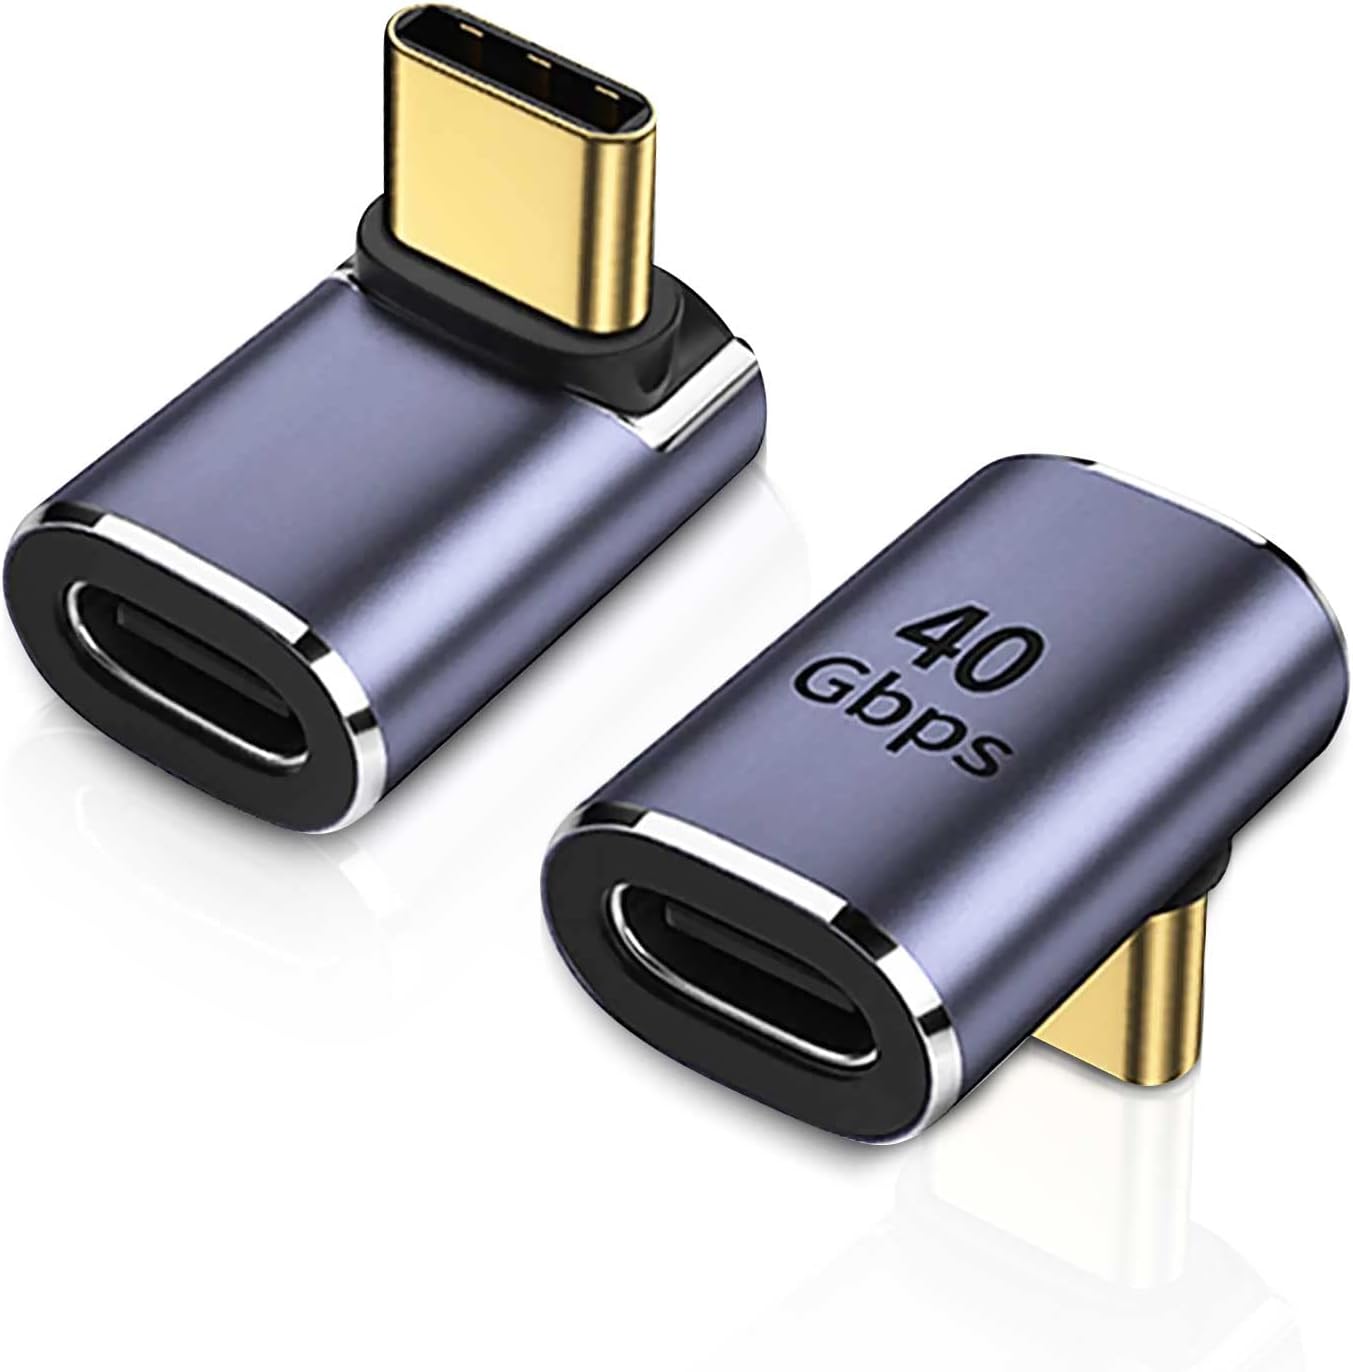 | Amazon | |
| 2 | Brushed Electronic Speed Controller | Abshima ECU-1 Car Speed Controller | 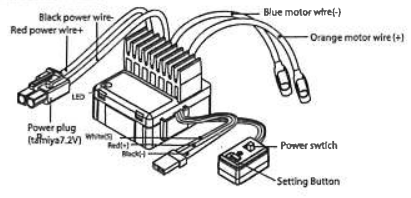 | Alternative brushed speed controller for 1/10 brushed motors (waterproof, forward/brake/reverse), suitable for marine applications. If a different ESC model is selected, the ESC mounting bracket in the Fusion 360 assembly will likely require redesign to match the new dimensions. Assistance with modifying the CAD model is available upon request at christianarrer@gmail.com | |
| 1 | Dupont Wires | Elegoo 120pcs Multicolored Dupont Wire 40pin Male to Female, 40pin Male to Male, 40pin Female to Female Breadboard Jumper Wires Ribbon Cables Kit for arduino | 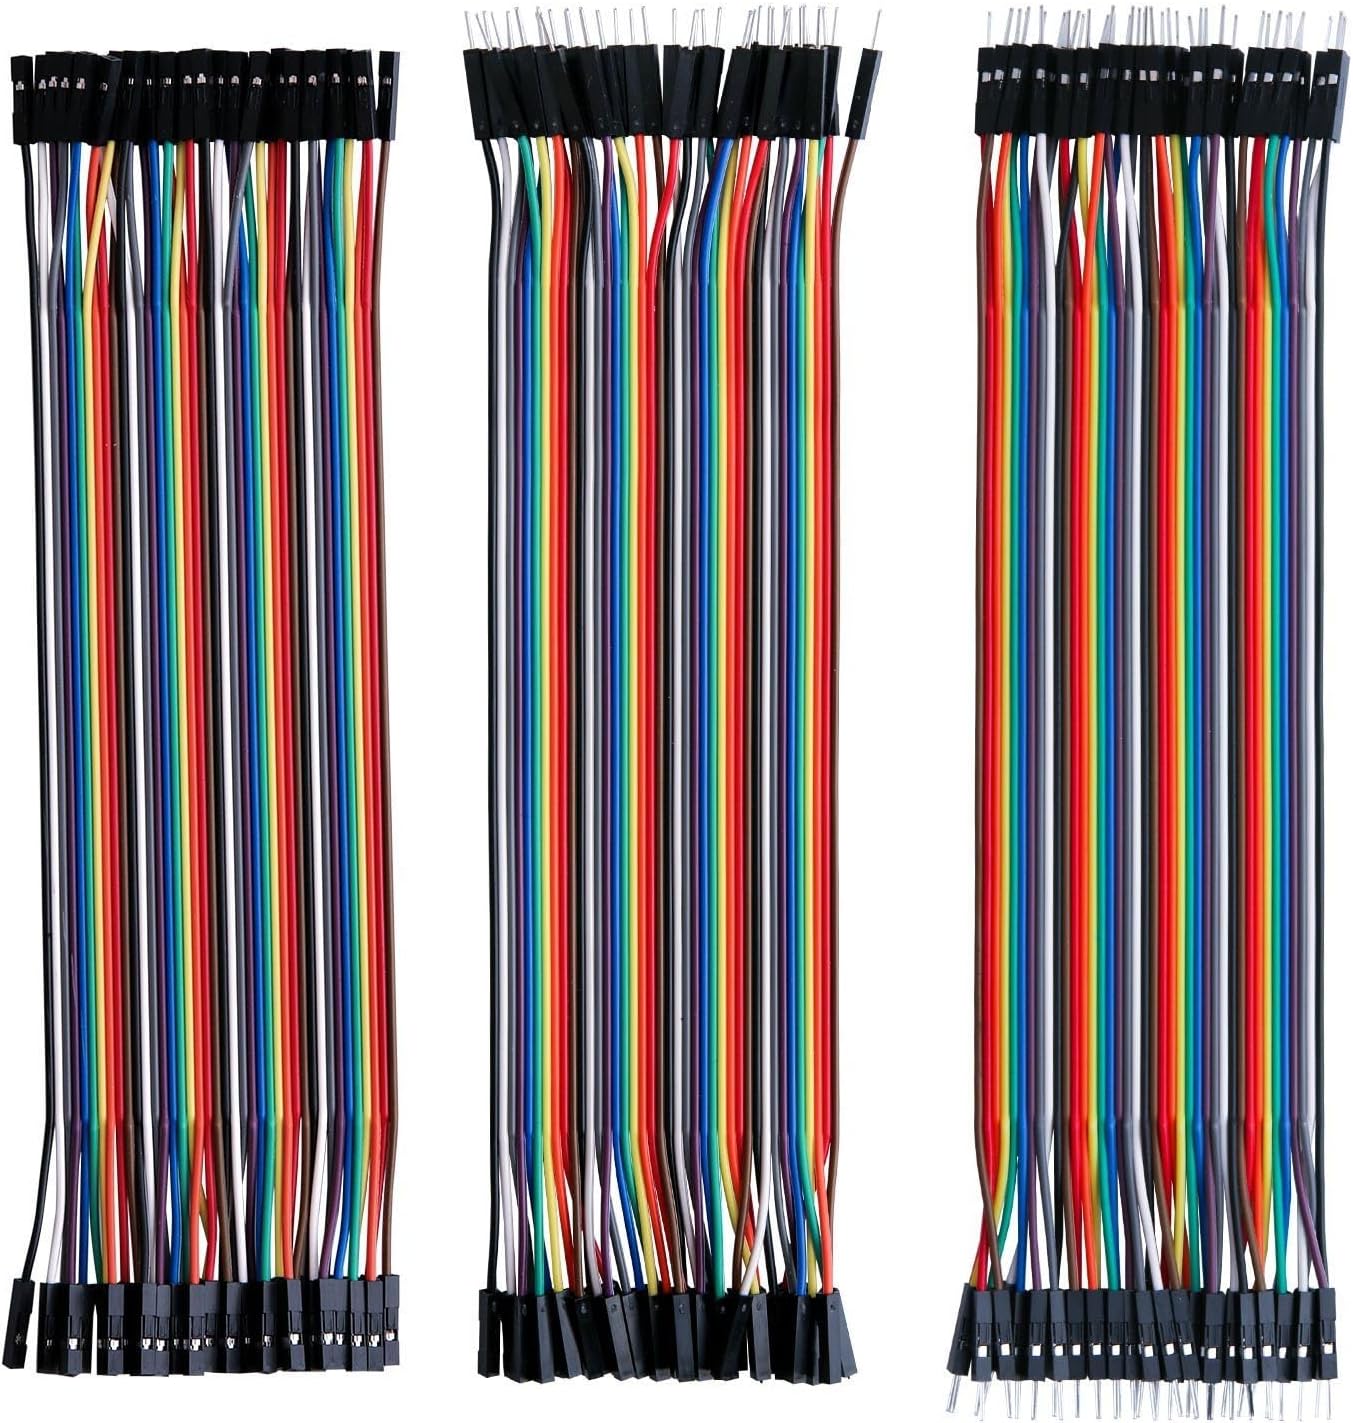 | Amazon | |
| 1 | Wires | TRU COMPONENTS 1.5 mm² Stranded Hook-Up Wire Assortment | 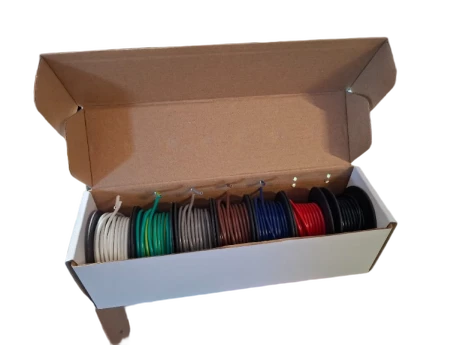 | 1.5 mm² stranded copper hook-up wire (red and black). Used for primary power wiring within the hull (battery to ESC and main distribution). The 1.5 mm² cross-section provides sufficient current capacity for this application under typical model boat conditions. It is recommended to order at least 5 meters to allow proper routing, clean cable management, and potential future modifications. Use red for positive and black for negative polarity to maintain consistent wiring standards. | |
| 24 | M4 screws | M4 hex socket screws with matching nuts |  | In addition to epoxy adhesive, eight screws are used per hull joint to mechanically secure each pair of hull sections. Hex socket screws have proven reliable and allow proper torque application. | |
| 25+ | M6 screws | Multiple M6 Phillips head screws (16 mm and 20 mm recommended) | | These screws are used to mount internal components to the M6 hole grid inside the hull. The screws can easily be shortened to the required length using an angle grinder if necessary. (The deck elements are mounted to the hull using dedicated 3D-printed M6 screws designed specifically for this project.) | |
| 1 | Stepdown converter | LM2596 | 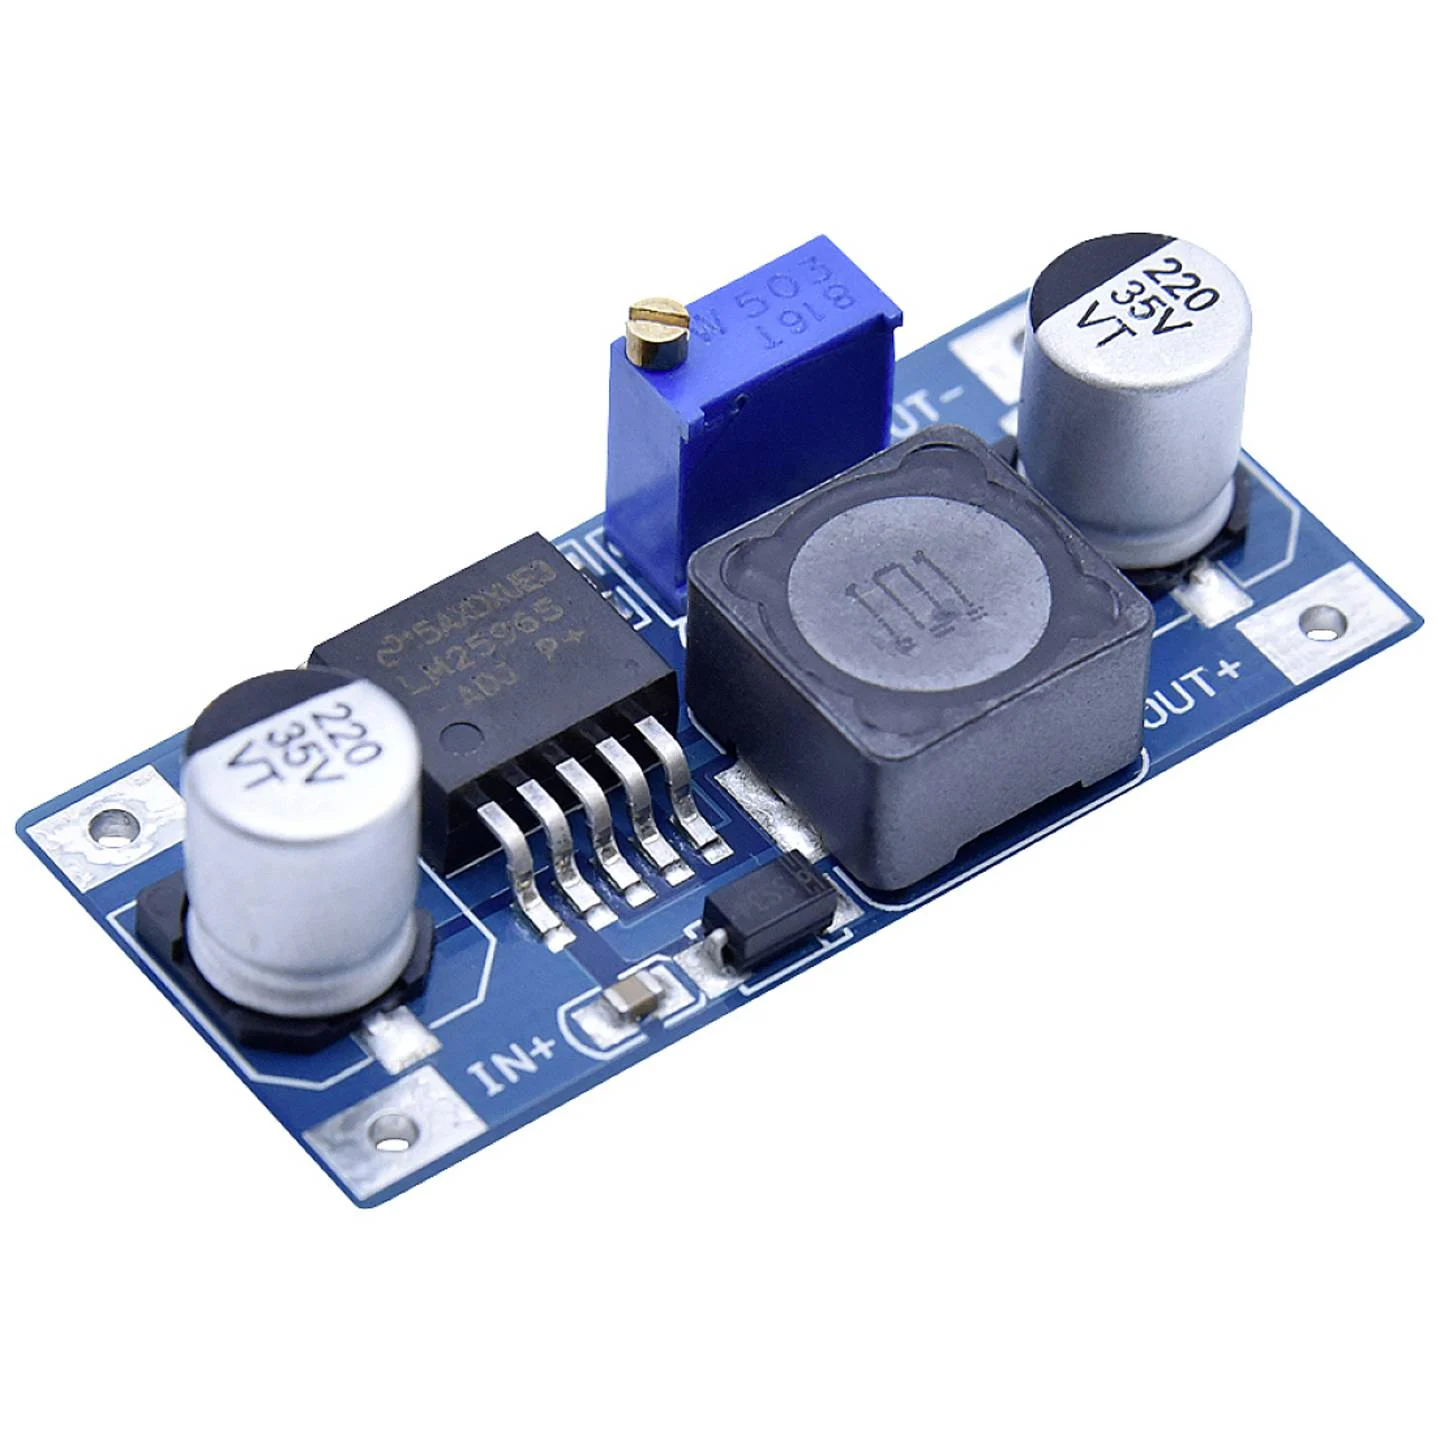 | ||
| 1 | USB-C LAN Adapter | USB-C LAN Adapter |  | ||
| 1 | LAN Cable | CAT-5/6/7 Cable (50cm) | 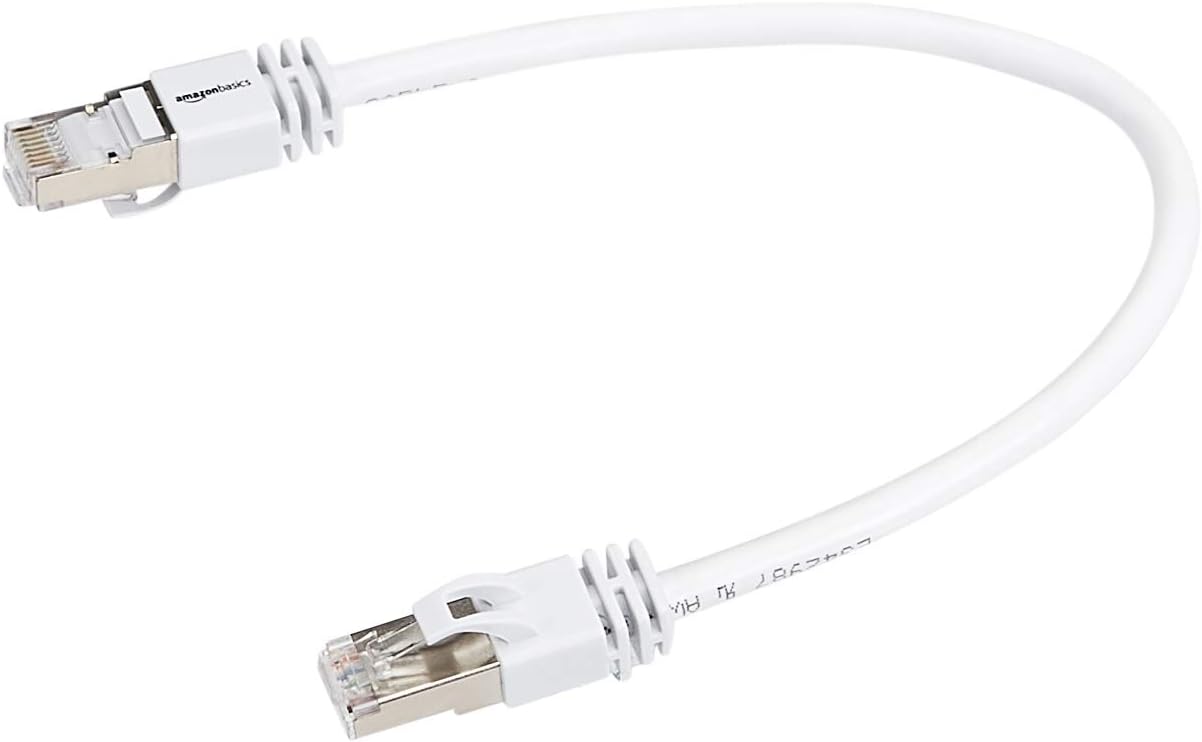 |
4.3. Additional Tools and Materials
3D Printer
- A 3D printer with a fully enclosed build chamber is required for printing ASA (also recommended for PETG and ABS).
- I use a Bambu Lab H2S with AMS system. ASA and TPU95 should be loaded from an external spool holder rather than the AMS system.
- Recommended filament quantities: 2 × 1 kg ASA spools and 1 × 1 kg TPU95 spool.
- I print ASA in dark grey and TPU95 in transparent blue.
Soldering Equipment
- A temperature-controlled soldering iron adjustable up to at least 400 °C.
- High-quality solder suitable for electronics.
- Heat shrink tubing in various sizes for proper cable insulation.
Power Supply & Measurement (Optional but Recommended)
- A laboratory bench power supply with current limiting and galvanic isolation for safe dry-dock testing.
- A digital multimeter for voltage, current, and continuity testing.
Battery Equipment
- A suitable charger for NiMH batteries compatible with your battery type and capacity.
Adhesives
- Epoxy adhesive for bonding the hull sections.
- UHU Max Repair or a comparable flexible adhesive for bonding ASA to TPU components.
Server & Network Infrastructure
- A functional home server or root server with a working DNS server.
- An Nginx reverse proxy server.
- A coturn server for WebRTC video streaming.
- A WireGuard server to establish a VPN connection between the control smartphone (used to operate the boat) and the Raspberry Pi.
- Alternatively, a capable router that can provide some or all of these services.
- Depending on your setup, a static public IPv4 address from your internet service provider may be required.
- Further details are described in the Software Section.
Additional Recommended Items
- XT60 or equivalent high-current connectors.
- Cable ties and adhesive cable mounts for cable management.
- Threadlocker (medium strength) for motor and mechanical screws.
- Basic hand tools (hex keys, screwdrivers, pliers).
- A heat gun for heat shrink tubing.
- Sandpaper for post-processing 3D prints.
- Optional: silicone sealant for additional water protection.
5. Software
The software stack is split into two parts: Setup and Code Description. The Setup section explains how to obtain and deploy the project (cloning the repository, copying the release to the Raspberry Pi, installing the Android app, and configuring supporting infrastructure such as the TURN server and the NGINX reverse proxy). The Code Description section documents how the implementation works internally (services, modules, data flow, and key components).
5.1 Setup
This section explains the practical steps to prepare the environment before diving into the code. The general flow is:
- Clone the project repository on a workstation.
- Prepare the Android development environment.
- Ensure supporting network infrastructure is available, e.g., a WireGuard server.
- Copy the prepared release to the Raspberry Pi and run the provisioning script.
In short: on a normal PC, run:
git clone https://github.com/christianarrer/rudder-pi, then install Android Studio, and set up or have access to a WireGuard server.
The exact details below list the minimal, yet practical, steps to get a fresh Raspberry Pi up and running with the project.
5.1.1 Setup Raspberry Pi (rudder-pi/app.py)
1) Copy release files
From your cloned repository on the workstation, locate the prepared release folder for version 0.2.2:
rudder-pi/python/releases/0.2.2.
Copy the entire folder contents to the Raspberry Pi under /opt/rudder-pi.
After copying, the directory on the Pi should contain at least:
app.py, env, provision-phone-ip.sh, requirements.txt, setup.py, etc.
2) Provision the Pi using the script
On the Pi, run the setup script with system provisioning and PWM auto-export enabled, and allow it to reboot if needed:
python3 setup.py --system --install-pwm-export-service --reboot.
- The script is idempotent, so running it again after a reboot is perfectly fine if not everything is complete yet.
- It will enable hardware PWM, export PWM channels, install MediaMTX, configure services, and more.
- Watch for the presence of /sys/class/pwm/pwmchip*/pwm0 and pwm1; their appearance means PWM channels are exported and ready.
- If after the first run you rebooted or the system rebooted automatically, it may be necessary to run the script once more to finish any remaining steps.
Important: After running setup.py, ensure that the script
/opt/rudder-pi/provision-phone-ip.sh is executable by running
chmod u+x /opt/rudder-pi/provision-phone-ip.sh.
Also check the file /etc/mediamtx/mediamtx.yml if MediaMTX fails to start.
In some cases the configuration may contain the key webrtcICEServers2 more than once;
if this happens, remove the duplicate entry so that the key appears only once, otherwise MediaMTX will refuse to start.
3) Adjust TURN server entry in MediaMTX config
After installation, the default mediamtx.yml file contains a TURN server entry such as:
url: turn:rudder-pi-webrtc.schrottplatz.internal:3478?transport=udp.
This must be edited to match your actual TURN server address, credentials, and transport as used in your own network.
Failure to adjust this line to a reachable and correctly configured TURN server may prevent WebRTC clients from connecting reliably.
4) Adjust LAN ping service IP
The installed systemd timer/service for keeping the LAN alive uses a hardcoded IP:
ExecStart=/bin/ping -c 1 -W 1 192.168.21.80.
Edit this IP to an address in your home LAN that remains reachable from the WireGuard network.
Use a device or server that you expect to stay online, to make this keepalive check meaningful.
5) Additional practical notes
- Ensure the Pi’s default system paths, usernames, and file locations are correct for your setup. If the project is moved out of /opt/rudder-pi, adjust unit files accordingly.
- Verify that your WireGuard configuration, DNS, or any custom routing is correct for your environment, especially when using non-standard LAN or VPN setups.
- If you have special hardware or a different power solution, confirm that PWM pins, GPIO mapping, or other hardware assumptions still hold for your Raspberry Pi board revision.
- Where heavy streaming, logging, or long-term writes are expected, use media and storage endurance considerations—e.g., prefer endurance-rated storage cards and rotate logs—although the script focuses on software setup rather than hardware selection.
5.1.2 Setup Android App (rudderpi)
1) Open the project in Android Studio
On the workstation where you installed Android Studio, open the Android app project found in
<repo>/android/rudderpi.
2) Build and install
- Connect the Android device using USB or a suitable network ADB connection.
- Build the app within Android Studio.
- Install it on the device and verify it launches correctly.
- Testing early on helps confirm that the app can reach the Pi or the server infrastructure you have configured, e.g., via WireGuard, TURN, or the reverse proxy.
3) Practical suggestions
- If you are frequently changing configuration or code, use Android Studio’s deploy tools for fast iteration.
- Ensure that any required permissions (camera, network, etc.) are granted on the device.
- If the device is not directly accessible to your Pi, confirm that your network, VPN, or other routing settings allow the device to reach the Pi’s published endpoints.
5.1.3 WireGuard on Raspberry Pi
It is recommended to install resolvconf and wireguard via apt install resolvconf wireguard and to disable the onboard Wi-Fi by adding dtoverlay=disable-wifi to /boot/firmware/config.txt.
1) Install and deploy the client configuration
- Copy the WireGuard configuration file received from your WireGuard server to the Pi, typically under /etc/wireguard/wg0.conf or a similar name depending on your setup.
- Enable and start the WireGuard interface:
sudo systemctl enable --now wg-quick@wg0.
2) MTU consideration
For mobile or variable networks, using a slightly smaller MTU can reduce connectivity issues.
A widely discussed recommendation is to use an MTU of 1280, which is considered a safe minimum level for IPv6 and compatible with many routers or networks. :contentReference[oaicite:0]{index=0}
Adjusting the MTU is often done in the WireGuard interface configuration; keep the value consistent on both ends as needed for reliable data transfer, especially for streaming or complex network paths.
3) Other practical tips
- Confirm that DNS settings, any required scripts, or post-up/down rules are present if needed by your network.
- Check network reachability after enabling the tunnel: ping the server, try simple connections, or verify that streaming traffic or control messages can flow.
- If the Pi needs access to services on the server network or vice versa, verify that routes, allowed IPs, and firewall rules correctly allow the needed traffic.
- Keep the WireGuard configuration secure and ensure private keys remain protected; treat them as sensitive data.
5.1.4 Setup NGINX reverse proxy
For the full system, two separate HTTPS reverse‑proxy server blocks are used. They sit in front of the internal services (for example the Gradio‑style UI and the WebRTC signal or media endpoint) and let external clients connect securely without exposing the internal ports directly. The exact configuration below mirrors two example files; you must adjust all hostnames, IP addresses, ports, and certificate paths to match your own environment.
The two example proxies are:
- Main application proxy (for the general UI or control web frontend)
rudder-pi.schrottplatz.internal.conf - WebRTC or media proxy (for a separate path used by WebRTC clients or media streams)
rudder-pi-webrtc.schrottplatz.internal.conf
Each one is an independent server block with its own hostname and a different internal destination port.
These server blocks typically live under /etc/nginx/sites-available/ (or the nginx config directory your distribution uses) and are enabled via a symlink to sites-enabled or the equivalent mechanism.
After adjustment, reload or restart NGINX so the new configuration is active.
The general idea follows the standard NGINX reverse‑proxy pattern, where incoming requests are forwarded to an internal proxy host and port. Official documentation explains this proxying behavior and the related directives such as proxy_pass and header settings. :contentReference[oaicite:0]{index=0}
What you need to change from the example configs:
-
Server names
Each proxy uses aserver_nameline. Replace the example names with DNS names or hostnames that resolve to your reverse‑proxy machine. For instance, the examples might use:rudder-pi.schrottplatz.internalandrudder-pi-webrtc.schrottplatz.internal. Use names valid in your LAN or DNS. -
SSL certificates and keys
The example references specific certificate files:/etc/ssl/certs/WEBAPPS.schrottplatz.internal.crtand the corresponding key. Provide your own correct certificate and key files—either issued by a CA you control or using self‑signed certificates if that fits your lab setup. Paths must exist on the reverse‑proxy machine and match the domains used. -
Internal proxy destination IP and port
Each server block contains aproxy_pass http://IP:PORT;line. Change both IP and port to match where your internal service is actually listening. For example, the first block might point to192.168.5.10:7860and the second to192.168.5.10:8889in the sample; in your setup this might be different, or the services may be on another machine entirely. In short: the example IP 192.168.5.10 must be replaced by the actual WireGuard IP of the Raspberry Pi. -
Optional headers or WebSocket support
The examples already include headers for real IP, forwarded host, and WebSocket connections (Upgrade,Connection). Keep or adjust these depending on what your internal apps require. They are safe defaults for many UI or WebRTC‑style backends, but if your environment changes or you add new services, verify that the required headers are still correct. -
Timeouts
The example sets fairly longproxy_read_timeoutandproxy_send_timeoutvalues (3600 seconds). These are useful for long‑lasting connections such as WebSockets, streaming, or long polling. If your use case changes to only very short interactions, you could shorten these values, but the defaults work well for media or real‑time control traffic.
User‑friendly tips:
- Test each proxy independently after configuration. You can use a browser to open the HTTPS address or use tools like
curlto confirm the connection reaches the intended backend. - Check NGINX error and access logs if something does not reach the service correctly. A single typo in the IP, port, or certificate path can prevent connections.
- If you deploy on a machine also running other services, ensure that the listen port 443 is not used by something else. If it is, you must adjust to a free port or combine services under one nginx instance properly.
- When changing config files, always reload NGINX gracefully; avoid abrupt stops during active streams. The usual command is
sudo systemctl reload nginxorsudo nginx -s reloaddepending on your system.
Once the reverse proxies are correctly adapted and running, external clients can reach your application and WebRTC endpoints securely using the hostnames you configured, while NGINX handles encryption, routing, and header management for the internal services.
Once the above steps are complete, the basic software environment should be ready, and you can move on to examining how the code works internally. The code description follows in the next major section.
5.2 Code Description
Stub: This section will describe the internal architecture of the Raspberry Pi service (app.py),
the MediaMTX integration (RTSP/WebRTC paths and configuration), network and provisioning helpers, and how telemetry/control data flows between
the Android app, the Raspberry Pi, and the operator UI.
6. License & Disclaimer
License & Disclaimer The STL files and design documents provided on this website are released under the Creative Commons Attribution-ShareAlike 4.0 International (CC BY-SA 4.0) license. This project is provided “as is”, without any warranty of any kind. The author assumes no responsibility or liability for any damage, injury, loss, or malfunction resulting from the use, modification, or construction of this project. Use at your own risk.
Status: 1.0 abgeschlossen